Wednesday, October 27, 2010

September 2010......cont'd

This brazed "booger" was one of the few attachments holding in the left front fender apron once all the undercoating was removed.  Not a good sign.


Two more brazing boogers.
 

After grinding through about six braze boogers, the left front apron was out!
 

Left apron flange showing absolutely no weld contact along the entire flange.
 

Same story on the rad support where the apron meets it.
 

This is a rather poor picture of the left front corner of the radiator support where the fender apron joins it.  What isn't obvious is that this area was heated with a torch and beaten flat at some point.  Also notice the reddish circle at the bottom showing the fender mounting ear ripped out.  This explains the green left front fender on my blue car.  Evidently, the car was hit in the left headlight area, wiping out the fender, rad support and apron.  A dirty repair was made by brazing in a new apron and beating the rad support out flat enough to mount a used original Boss fender.


Left apron out without much fuss.


Fortunately, the flanges were in good shape and smoothed up nicely with only a little disc work.

Sand blasted the flanges and they look great!
  

New left apron spotted in.


Identifying spot welds on the right front apron connection to the rad support.


Identifying spot welds on the right front apron connection to the shock tower.


Identifying spot welds on the right front apron connection to the frame rail.


Right front apron separated from the rad support.


Remainder of apron removed with air saw.  Note top rail still intact.  This is important due to the fact that the VIN is stamped in this top rail and must be preserved!  This makes the apron swap many times more difficult!
 

Note the scribed line just under the top flange.  This is where I will trim the panel to and match the new apron to it.


Here is the new panel trimmed to match the original top rail.


Repair panels are rarely a "use-out-of-the-box" part and a little trimming and fitting is often required.  Here, I have marked the rear corner for trimming along with the frame hole.
 
More trimming required.  Also, panel clamps are now in position to maintain proper welding gap at the top.  These panel clamps by Dagger Tools are great for doing this kind of delicate work.
 
The gap looks huge in this pic but the truth is it is only about .040".
 
Flanges have been sand blasted and coated with 3M Weld-Thru primer.
 
Panel tacked in.  The top seam will essentially be hundreds of tack welds connected together to form a strong joint with little to no distortion.
 
First run at smoothing the seams.
 
More tacks along the top seam and more metal finishing.  Note the consistency in the reflections off of the character lines on the top of the panel.
 
Panel is fully welded and metal finished.  A skim coat of All-Metal filler will ensure the seem is tight, strong and undetectable.
 
Now that the original rad support is no longer needed to align the new aprons, I used my air saw to remove the top section of the rad support in preparation for replacement.
 
With the front cross beam and forward strut mounts removed, the new rad support can be trial fit to the chassis.
 
With a little careful hammer & dolly work, the fit is excellent.

Rad support fits the right front very well also.

In this pic, you can see just how nicely the apron flanges fit the new rad support.

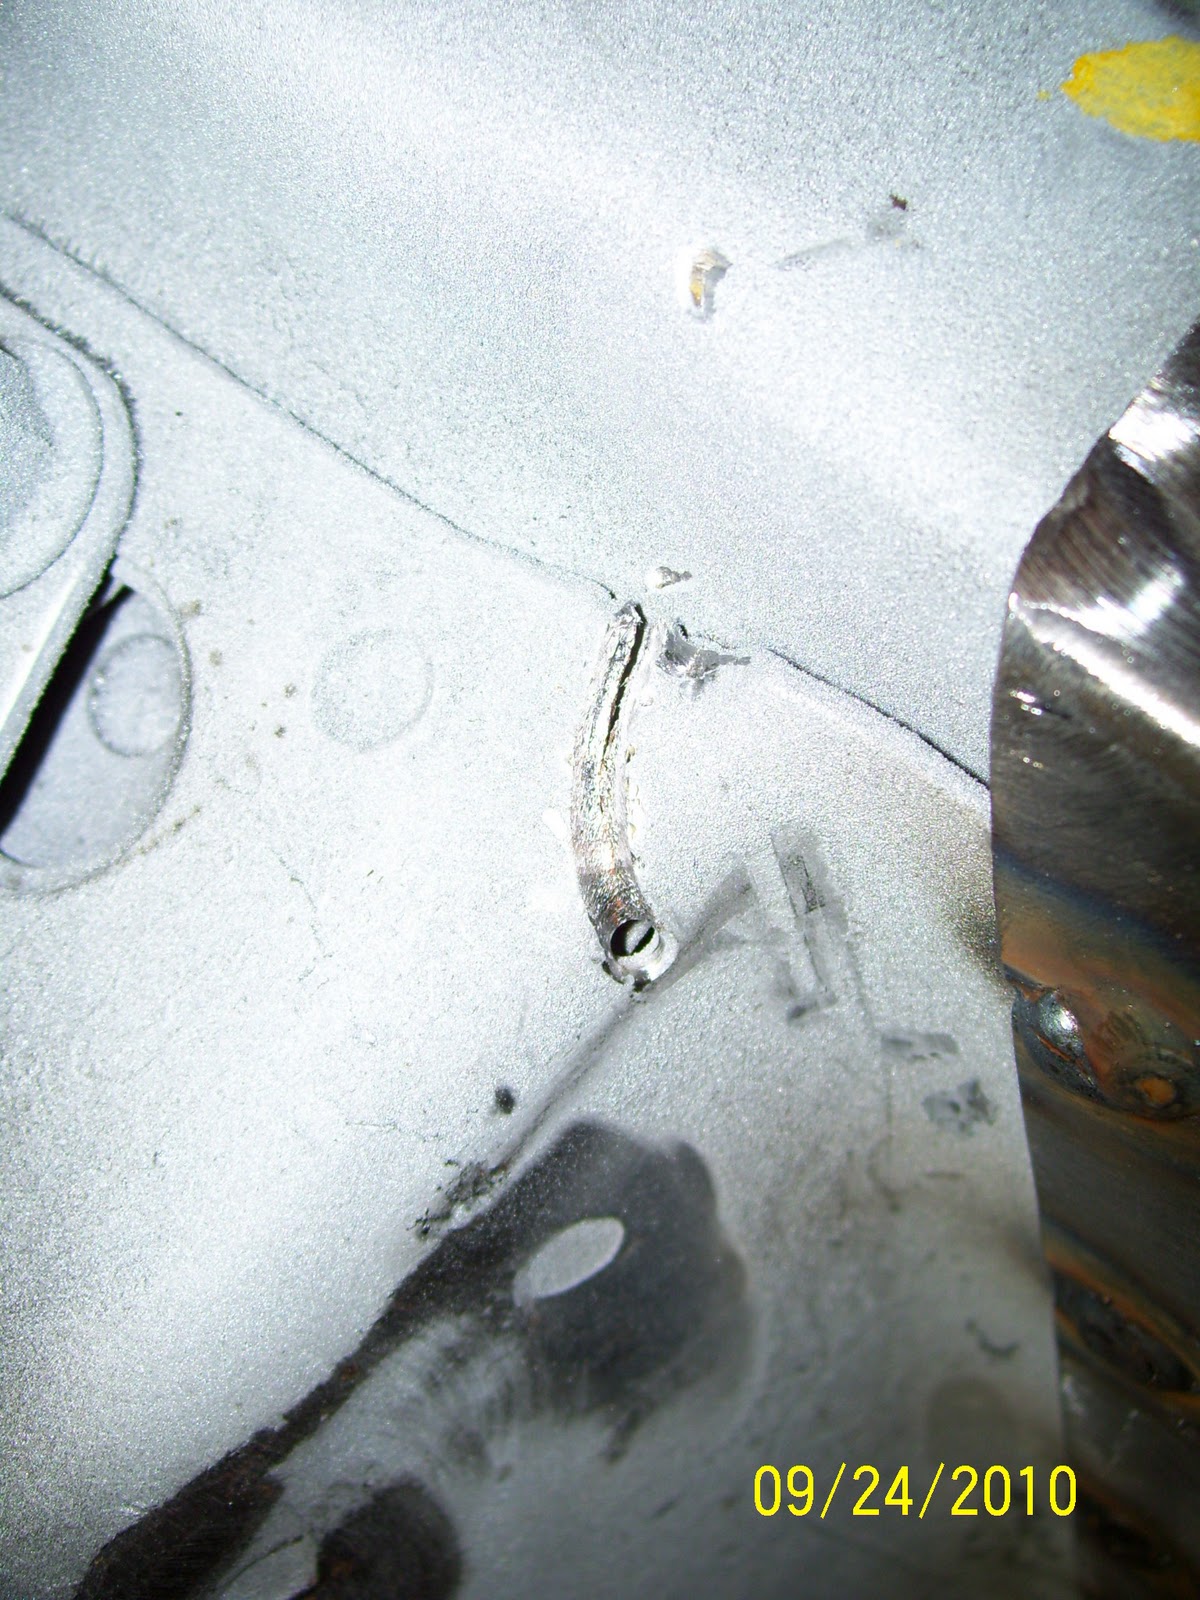
More evidence of a hard life.  This is a pretty significant crack in the left shock tower.  To stop the crack, a hole is drilled just outside the end of the crack.

Here, a die grinder is used to carve a valley directly along the crack to allow good weld penetration all the way through the crack.

Here, the crack has been filled with weld.

As mentioned in an earlier post, the left rear apron was severely damaged by some idiot with an impact gun.  All of the hood hinge mounts are absolutely destroyed and the panel was severely distorted as a result of the ham-fisted treatment this car received.  This is the kind of stuff that pisses me off to no end.


A closer look at what's left of a kluged-up repair of the power steering bracket mount.  The car had enormous headers on it when I bought it and had an extension welded to the frame to lower the power steering ram about 3" below stock.  The added leverage on this "mount" ultimately ended up tearing a section of the lower frame rail out and breaking the end of the P/S ram shaft clean off!

Here's a look at the area of the frame torn out by the P/S bracket failure.  I have carefully removed most of the cobbled up, slobber-welded bracket material added by a previous owner.  Unfortunately, what I found was a severely damaged lower frame section that will require a lot of careful fabrication and metal finishing to return to proper condition.  This is shaping up to be the major winter project for 2010.


August into September 2010

I figure I'll start by trying to get this blog caught up with what I've been doing over the past few months.  But first, a little more history.

In June 2007, my uncle Dwayne (also a "car guy" to the core) was more than kind enough to pick the car up from my family's home in Aransas Pass, TX and store it for a bit over a year in his garage in Lufkin, TX.  That simple description of events does absolutely no justice to the amount of effort and expense Dwayne put in to the "flying" trip down and back from Lufkin coupled with the work he and I put in to getting car exhumed from it's "tomb" and loaded on the car hauler for the trip to the Texas Piney Woods.  In short, it was an experience I am sure neither of us will soon forget.  I will remain grateful for all of his help as it represented a critical turning-point in getting the project off TDC.

Now.......on with the show.  This batch of pictures covers everything Dad and I accomplished in August and September of 2010.  It may not look like much, but an enormous amount of work went into getting the car ready for the restoration process to begin.  Lots of discoveries.  Lot's of heartbreak.  Lot's of frustration.  In other words:  Everything required to start putting together a realistic plan on what needs to happen.  I have set up my digital camera to apply dates to every image to help keep things chronologically ordered.  Here we go.....


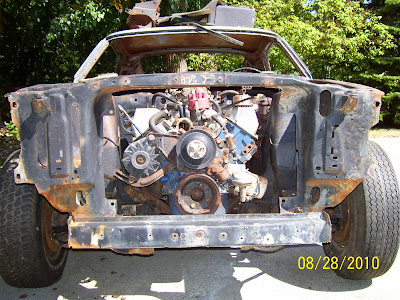
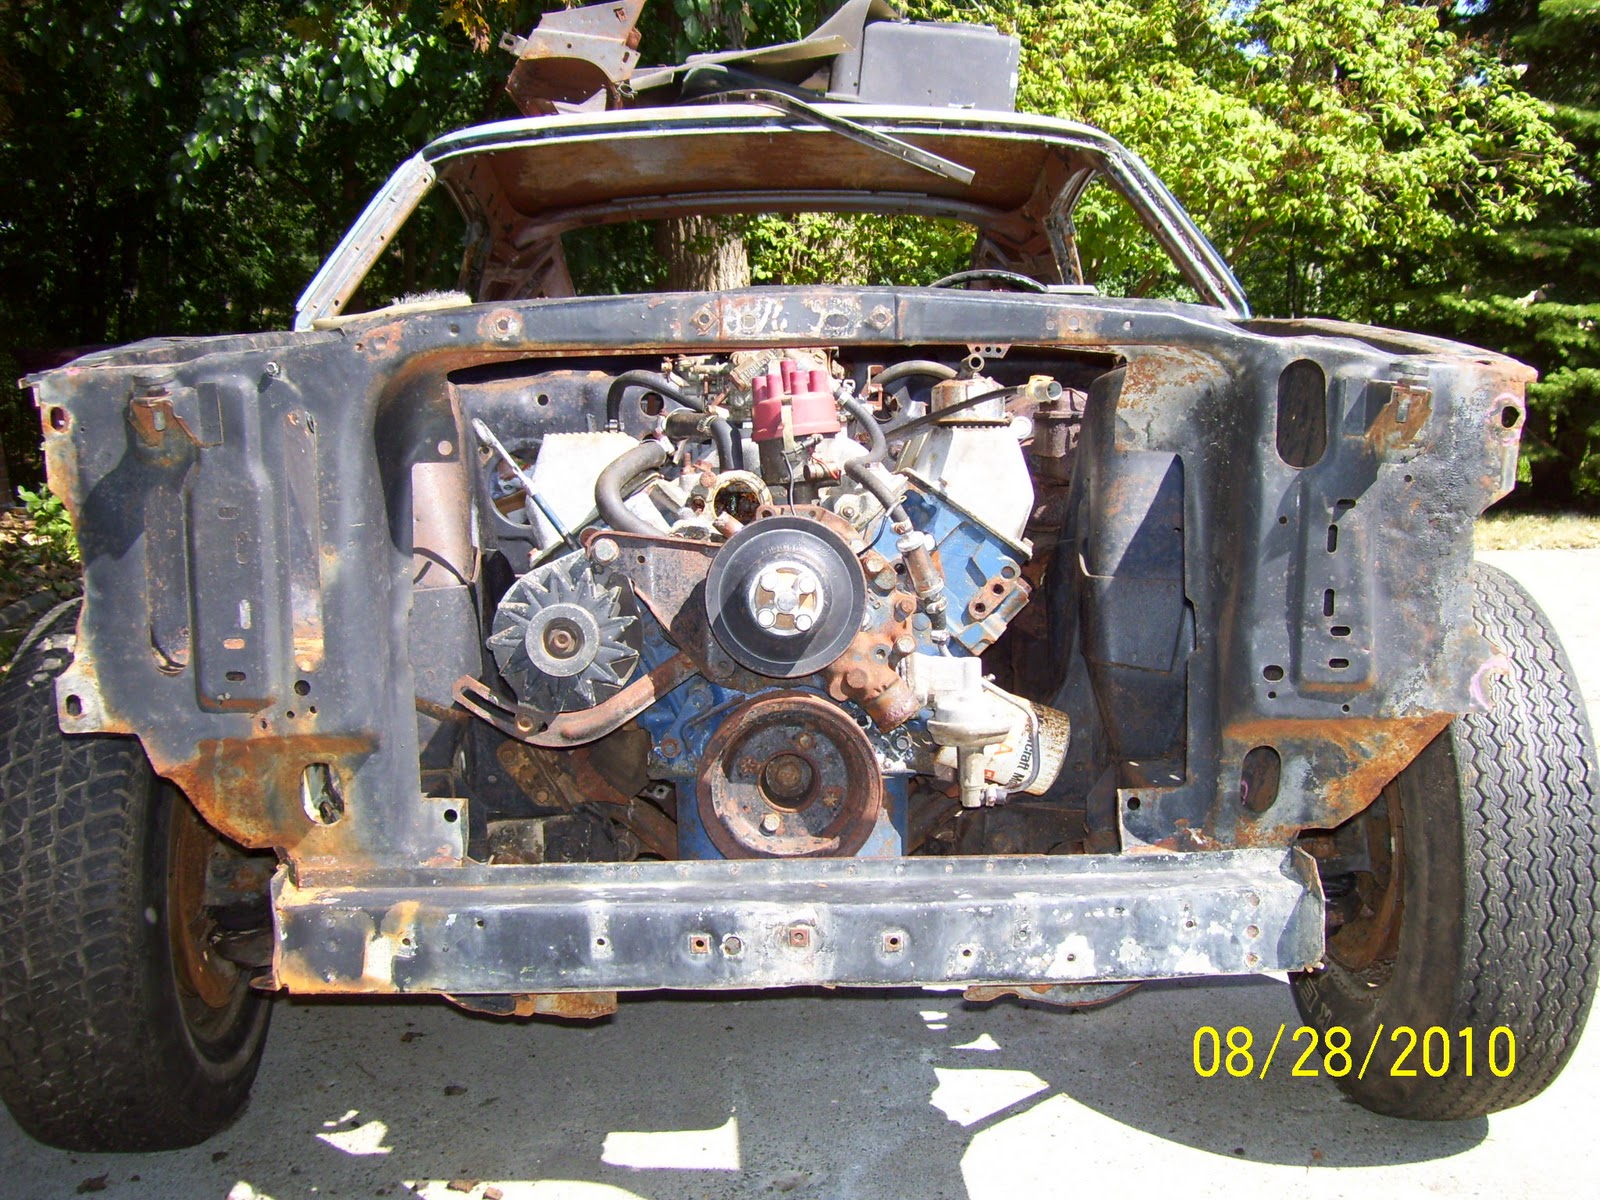
Engine bay after the front sheet metal and radiator were removed.  Rough....
 

Thanks to some fantastic advice from my Studebaker buddy Neil, we managed to get 90% of the undercoating off the inner wheel openings in only a few hours.


Sanford & Son?????


Left quarter isn't too bad.  Right is pretty good too.


This pic gives you a good idea of the approximate position of the camshaft center in the car.  Why is this important?  Because this is just about the right place to locate the rotational axis of the body when it is in the rotisserie (details coming soon).


Here, you can start to get an idea of the extent of the damage inflicted to the car in it's former life.  The reddish circles in the top left show where all three of the hood hinge nuts were literally ripped out of the apron.  The circles in the lower right show brazed spots along the lower frame section.  This was the first indicator that things in the left front apron were not right.  Also note the severely bent front radius arm mount.


A surprisingly solid firewall.


Right radius arm mount is severely bent as well.


Right front apron was a disaster once the battery tray was removed.  A common Mustang problem.
 

This corner of the engine bay will come back to haunt me later......


See that scabbed-on "patch" just left of the pitman arm?  That is another sign of bad things to come........


Wrong shift levers on the top-loader 4-speed.  Trans is out of a Fairlane based on the I.D. tag.


Engine on the hook.  The block VIN indicates it's from another 70 Boss (original engine is loooooooong gone).  Looks terrible.........and gets worse from there.


See the threads on that bolt?  Well.....you shouldn't.  Left rear block ear broken completely off.  At least they took the time to paint the block _after_ the damage.


See a trend here?


Yep.  Top and bottom bolt flanges on the right side of the tail housing are both broken off too.


Nice clean coolant.  Only problem is, it's coming from the oil pan.  About a half-gallon drained into the pan before ever getting any oil out of the engine.


The weld "worm" along the left edge of the cooling jacket at the rear of the block is the evidence of a poorly repaired crack in the block.


JB Weld to hold the cam core plug in place and bathroom silicone sealer to keep the oil galley plugs from leaking.  Nice.


When intake manifold bolts don't center in the bosses, it is usually an indication the manifold has been cut too much to fit properly.  This was backed up by the large volumes of bathroom silicone used to seal the intake gaskets to the heads.  Also note the crack starting just under the bolt head on the right side of the boss.  Toast.


A crack in the rear corner of the valve cover.  I think I can fix that......


Another dire indicator of an abused engine.  That dark line running vertically on the rocker arm is a crack in the rocker arm.  It was pure luck that it didn't fail and wipe out what little remained of the engine.