Wednesday, April 17, 2013

Replacing the Roof Skin – Part 2


Wow!  The last few weeks have flown by and the reward in it has been a tremendous amount of work accomplished.  When I last updated this blog, the old roof skin had been removed, the flanges prepped and the new roof skin trial fit.  What was left was the need to remove all of the 43 years of surface rust that had accumulated on the uncoated inner roof frame structures and weld up a few small areas before final preparations to weld on the new roof skin.  Naturally, it all sounds soooo easy when I say it that way, but we have been humpin’ to get to where we are today and the sad part is, it doesn’t look like it was that big a deal.  But…….I digress.
Before I could truly dive into another wonderful episode of sand blasting, I wanted to tweak the fit on the roof one final time to get it as perfect as I could and positively lock down the location of the roof skin so I could repeatably refit it every time I needed to.  At the same time, I wanted to mark the locations of the welded trim rivets and the locations of the spot welds that would be required.  For this, I saved the original front and rear roof edges to help in locating these elements and used them as patterns for doing so.  This made laying out the weld and rivet locations about a 15 minute job from start to finish.

Next, I needed to make some very small modifications to the base sheet metal and the roof skin to get the fit exactly as I wanted it.  Both of these modifications were on the driver side corners of the roof and were simple corrections to the corner shapes to get the roof to contour properly at these locations.  And when the fit was established and all of the flanges were nice and tight, I removed the roof skin and put it away for safe keeping while we moved on to the ever anticipated job of sand blasting.
As 2013 rolls into spring, we have had one (and I do mean only ONE) day suitable for sand blasting and Ted and I hit it perfectly.  Every other day with even the slightest hint of sun has been spoiled by rain, and every day in between has just been rainy.  All in all, it didn’t matter, because Ted and I were fully prepared to take advantage of our tiny window of opportunity and we were able to blast all of the surface rust off the inner roof bracing structures as well as all of the EDP coating from the rear taillight panel in a few hours.  At the same time, we were able to get a good look at our fall and winter work in the daylight and agreed that the efforts of the last several months were indeed everything we had planned.

Next, with the car safely back in the shop, we vacuumed up as much of the residual sand we could access and started preparing the taillight panel for a sealing coat of primer.  I try not to rely on the as-shipped coating of EDP on the exterior “beauty” surfaces of replacement body panels as I just don’t trust the applications enough to feel comfortable.  In addition, the coating is notoriously easy to remove with very light sand blasting and this alone drives me away from it altogether.
With the taillight panel in totally clean metal, I applied two coats of DP40 epoxy primer to the entire surface including the trunk surround and quarter extensions.  This pretty well buttoned up the tail of the car such that the remaining work would be “normal” bodywork and not major structural repairs.

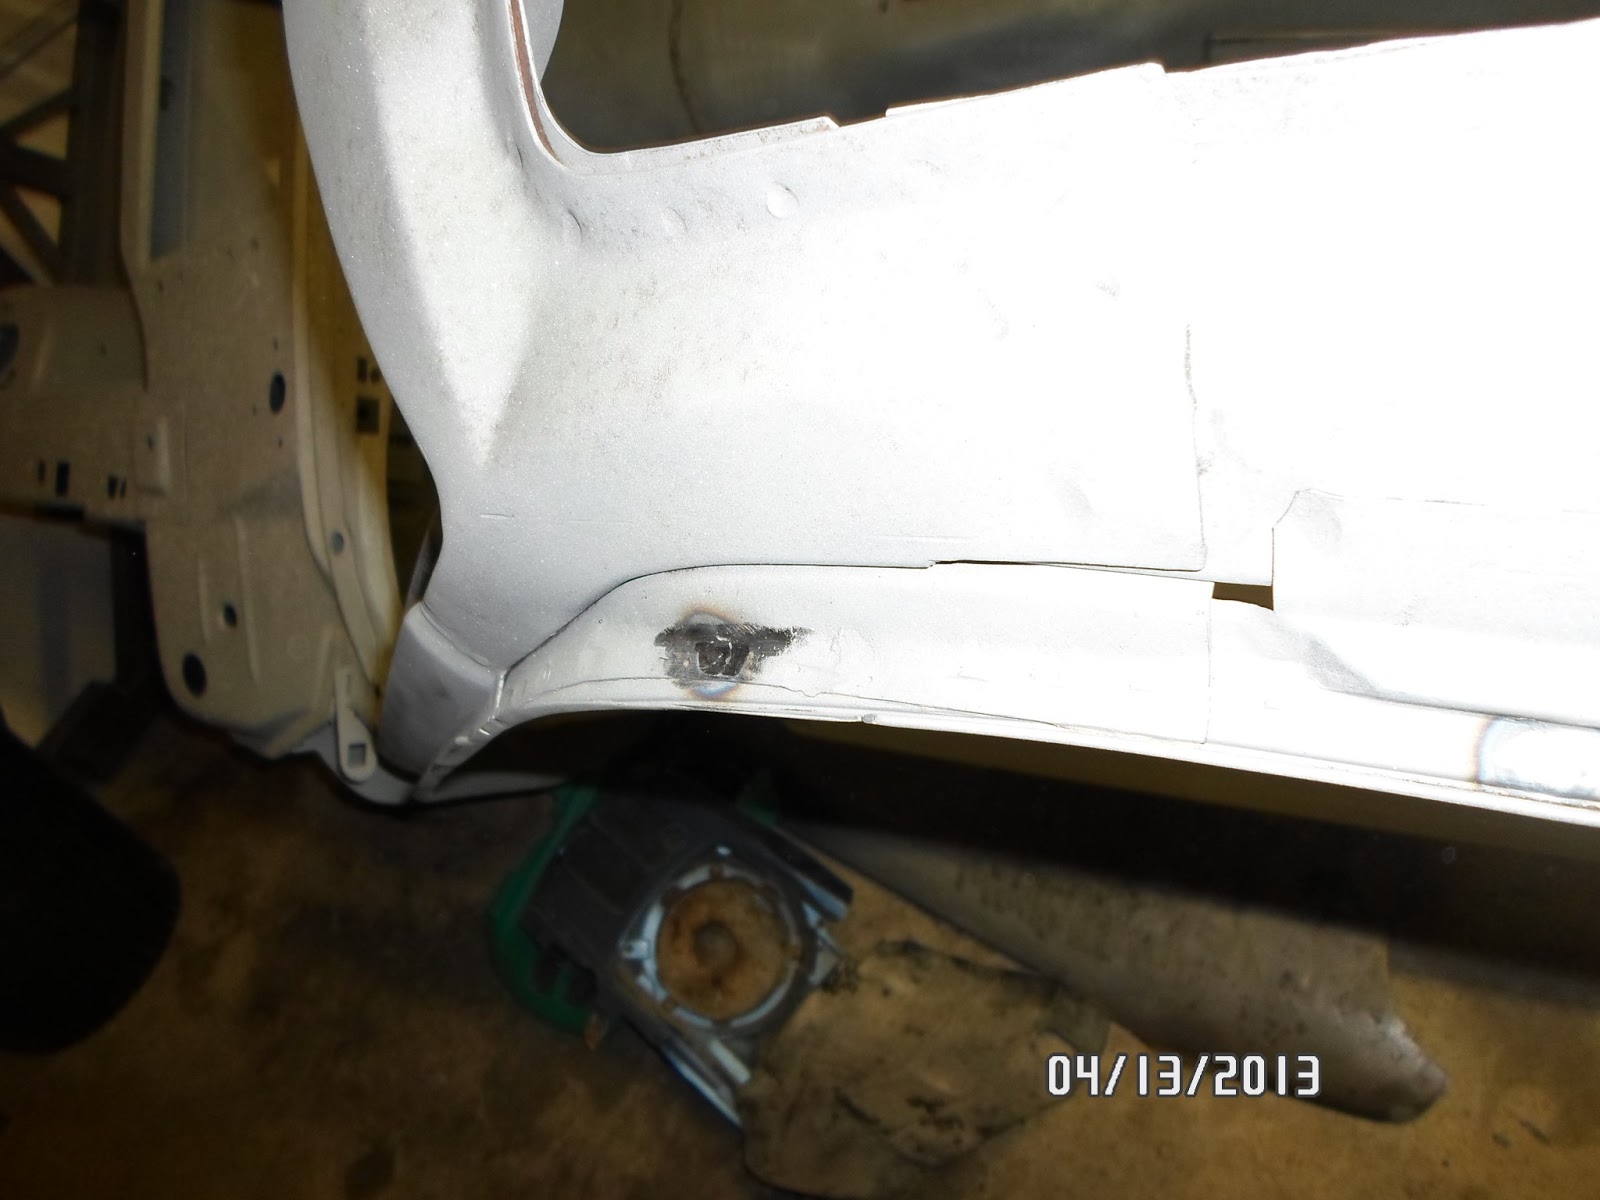
Moving back to the roof braces, the time had come to make a few repairs to the flanges and a few pinholes around the structure that had been discovered during the clean-up of the area.  Most of the repairs were limited to welding up the scars left over from the spot weld cutter when I had gotten a bit too aggressive with it when removing spot welds from the original roof skin.  At the same time, I welded up the small correction area in the driver side rear corner area where the custom fitting occurred earlier in the roof skin fitting exercise.  Once this small bit of welding was completed, I set about smoothing up all of the welds and flanges with my trusty angle grinder in preparation for the phosphoric acid treatment that we would employ to ensure the last invisible remnants of rust were completely eliminated and the remaining surfaces were nicely etched.  And after a good solid day of drying time, I followed up the etching treatment with a good pass with a nylon abrasive wheel to remove any extra phosphoric residue and give the surface a bit more tooth for the primer to bite into.
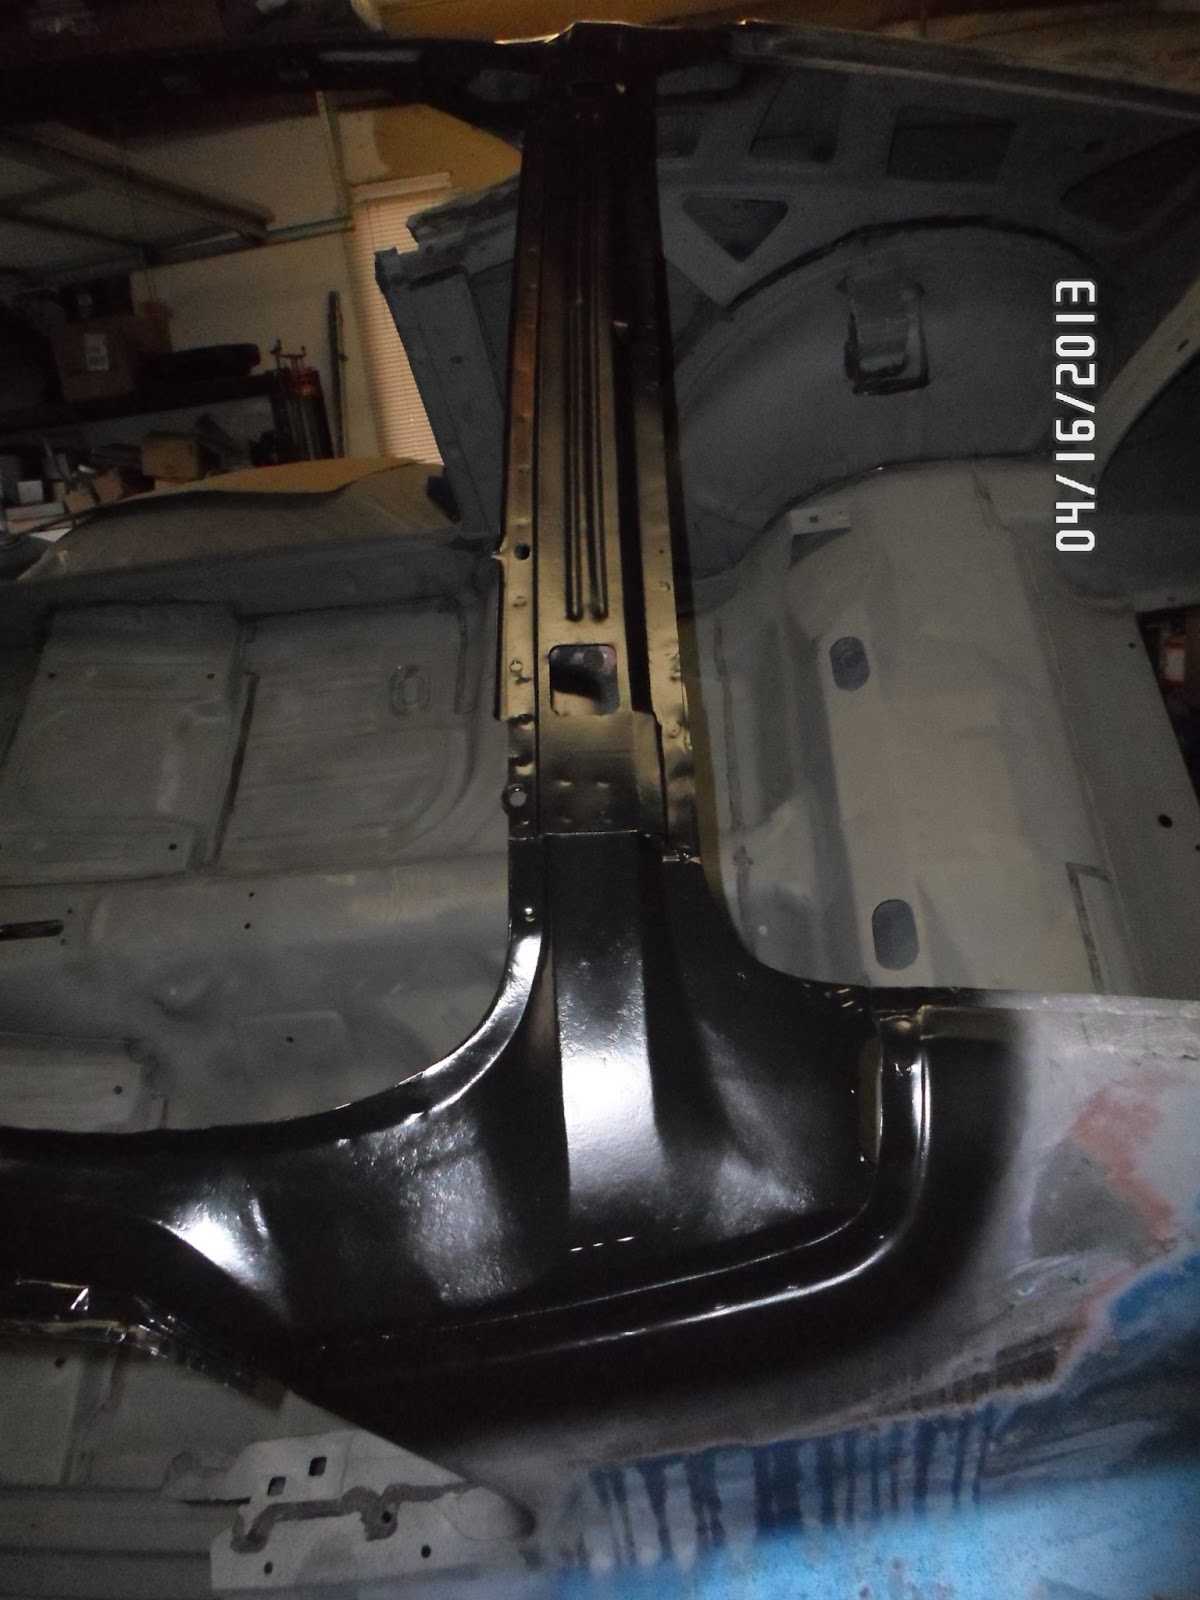
Finally, the moment had arrived where we could finally prep the roof braces for a coat of DP90 primer.  For this, I had the pleasure and luxury of an extra pair of hands in the form of my daughter Desiree’.   Truth is, I think she got a bit tired of me stealing Ted from her and wanted to see what all this monkey business was all about.  When she stood around long enough, she got recruited and the rest of the evening activities progressed quite quickly.  In a bit over an hour, the roof bracing was cleaned with prep-all, tacked down and primed.  While our second coat was drying, all the tools were cleaned and put away and we had time to stand around admiring the end-result and the revelation that this old car now had more primer on it than was ever applied at the factory on any 1970 Mustang in recorded history.  I gotta think that’s a good thing!

Until next time!

Never throw anything away!  I used the old front and rear window flanges to easily locate the welds and trim rivet positions.  Just lay it against the new flange and use a paint marker to identify the location of each spot weld and rivet.  Easy and quick!

The small hash marks along the top edge of the old window flange help me position the trim rivets.  Since these rivets are sometimes in the same location along the flange as the welds, I mark them higher up on the roof skin to avoid confusion.

With the original window opening flange removed, the rivet positioning marks can be easily seen.

This shot shows the numerous spot welds required along each drip rail and the slight shift to the passenger side at the rear of the rail.  This is the small adjustment that needed to be made to get the fit just right.

Each spot weld along the quarter flanges were clearly marked with my trusty paint marker.

Both the spot weld locations and trim rivet locations are marked in this shot of the front windshield flange area.  Note that two of the rivet locations are right on top of two spot welds.  This is why I always mark the rivet locations higher on the roof surface to avoid any confusion.

Using the pattern made earlier in the process, the rear window opening shape is verified with the new roof skin in place.  Very slight modifications would need to be made to get the fit and window shape just right.

The front window opening pattern was used to verify fit in this area as well.  Fit was excellent!

If you look carefully, you can see the small slice I had to make in the corner of the original driver rear quarter flange to allow the left rear corner of the new roof skin to shift very slightly toward the driver side (about 1/8").  With the adjustment made, I will follow up by welding this corner and dressing it down to match the new skin contour in this area.

On the left front of the new roof skin, the stamping was a bit shallow and didn't want to seat fully on the original A-post saddle.  A small incision was added along the corner peak which allowed the area to spread and conform to the original shape.  This will also be welded up during final fitting and installation of the new roof skin.  Note the "stop-hole" drilled at the termination of the incision.  This relieves the stress on the end of the cut and prevents it from cracking while it's being worked.


The fit at the right rear roof corner just doesn't get much better than this.  a few light taps from the body hammer and the flange was absolutely tight and right.  Note there is only one Cleco fastener holing this joint and there is no visible gap between the two flanges.

With the fit on all side as good as it could be made, the roof skin was drilled for high clamp force Clecos to ensure the final installed position was repeatable and the flange gaps were good and tight.  Clecos were installed upside down where possible to allow constant checking with the window patterns while the roof was being final fit.

First daylight excursion of 2013.  It's been about 6 months since the car last saw daylight and a lot of work has been done in the meantime.  This will (hopefully) be the last round of major sand blasting the tub will need.

I couldn't resist another look at the primed bottom of the car before the application of the Raptor liner later this spring.  Makes me smile.....

A bit over an hour of sand blasting time was required to get the roof structural braces rust free.  Here you can see how extensive my sand recovery equipment is.  Oh......and Ted helped too!

Much nicer looking braces when they are freshly blasted and clean.  While we were at it, I blasted the EDP coating off of the rear tail light panel so it could be sealed with DP40 primer.

The forward roof braces were in excellent shape after blasting as well.

I get a lot of questions about my method of recovering blasting sand.  Here is the secret:  A Dusty Deputy cyclone separator by Oneida.  This makes even the best broom driver look like an amateur and recovers better than 90% of the sand thrown at a car with ease.  The best part is, no a single hint of sand makes it to the shop vac, so the filter stays quite clean and the sand is easily recovered from the can that the cyclone separator is mounted to.  This thing is worth it's weight in gold in a shop!

The first order of business after sand blasting was to get the tail light panel, quarter extensions and trunk flange in a fresh coat of DP40 primer.

This was the first real opportunity to see how nice and flat the new tail light panel turned out.  Nice!

Next on the agenda was welding up a few spot weld cutter scars that ran a bit too deep along with a few small pin holes that showed up after sand blasting.

At the lower left of this shot, you can see the corner modifications I made to allow the roof skin to fit properly.  These have now been welded up solid along with the flange repairs mentioned earlier.

Another couple of small repairs along the rear edge of the driver side drip rail flange.

After a few minutes with the angle grinder, the weld repairs are smoothed and ready for the next step.

A small pinhole through the middle of an original spot weld was welded up and ground smooth here.

Here is the modified left rear corner of the roof area after welding and finish grinding.

With all of the repairs made, the bare steel was treated with phosphoric acid to remove any remaining microscopic rust.  The surfaces were kept wet with the acid solution for about 30 minutes.

The foamy surface of the treated bare steel shows the phosphoric acid was doing it's job along the passenger side drip rail beam.
The front windshield frame corner is cleaning up quite well with the phosphoric treatment.


After the final coat of phos, the rear roof beam is looking very good as well.


After letting the phos work for about 30 minutes, I carefully wipe away the wet residue and allow the treated surfaces to dry thoroughly.  This reveals a light, powdery coating and a well etched surface that allows the primer to stick extremely well.

Rear roof brace after drying the phosphoric acid treatment.

Similarly, the front roof brace is also nicely etched.
After allowing the phos-treated surfaces to dry a few days, I brushed every surfaced to be primed with a nylon abrasive wheel.  This removes any remains of heavy phos powder residue and adds a bit more aggressive tooth to the surface for good primer adhesion.

Left rear corner area after brushing.

Right rear corner after brushing.

Front cross brace after brushing.  It's very nice to see how clean this roof structure has turned out.

Here is a good shot of how clean and tidy the formerly rusted surfaces have turned out after all of the preparatory steps.  Almost looks like the metal was freshly stamped.

My beautiful daughter Desiree' decided to see what all this action was about (and to check up on Ted to make sure he really was working an the car like he said he was).  She was great help when we started priming the roof braces.

Rear roof bracing after a fresh coat of PPG DP90LF primer.

Driver side drip rails in primer.

Front windshield opening primed and looking good.

Inside door opening and drip rail in primer.

Interior upper door post looks so much better in primer!  Time to close it up with a new roof skin.....


Sunday, March 31, 2013

Replacing the Roof Skin – Part 1


Easter weekend and I have an extra day to spend in the shop and what better excuse would I need to start the removal of the rusted and damaged original roof skin on the Boss than that?  But first, a little background…..
Having committed to replace the roof skin some months ago, I wanted to make sure, in every practical way, that the original fit and finish of the window openings and body contours would be as perfect as they could be.  As such, I decided to make simple templates to allow matching the window openings and to have a place where exact measurements could be made to verify the fit of the new roof during installation.  So, the first order of business was to make these templates and measure everything before any of the roof skin removal work began.  Ted and I had a pretty solid plan laid out for the proper templates and we set about making them in an evening using the scrap cardboard I had left over from the shipping box the new roof skin arrived in.

With the templates made, I began marking the exact cut lines I would follow along the edges of the original roof to allow me to remove the bulk of the damaged skin in a single piece to allow work on the welded flanges to be much easier.  Using my trusty paint markers, I traces the entire perimeter of the roof about 1.5” inboard of the seams and flanges.  Then, with a box of fresh cutoff wheels in the queue, I very carefully cut along my painted cut lines, making sure to only allow the blade to penetrate the skin just enough to cut without damaging the under-structure beneath it.  This slow progression was particularly taxing on the cutoff disk life and it took about four fresh cutoff wheels to complete the job.  But, after less than an hour of work, the major portion of the roof skin was cut away and work would then shift to the careful removal of the perimeter flanges.
I wanted to preserve as much of the front and rear window opening flanges as I could to allow me to compare them to the contours and features of the new roof skin.  Since these were rather straight forward spot-welded sections, it didn’t take long to cut the spot welds free using my Blair spot weld cutter tool.  As each window flange was cut free and some small burs removed, I compared each one to the new roof skin to see how things were shaping up in these areas of concern.  What I discovered was an absolute stunning fit which quickly offered a welcome measure of comfort that the rest of the new panel would be workable as well.

With the front and rear window flanges removed, I could now start evaluating the condition of the underlying structures of the roof to see what, if any, additional repairs would be necessary before the new roof could be installed.  To my utter amazement, the structures were in fantastic shape with only the 40-year-old surface rust that is expected on surfaces that never received any form of protective coating during manufacture.  In fact, once the cobwebs and mouse turds were brushed free, the metal was nearly perfect in all respects.  This was good news I really needed and provided great confirmation that I had made the right decision to replace the original roof with new metal rather than risk a repair to the original.
At this point, the drip rails were all that remained to remove and I knew in advance these would provide a challenge in that there were an extraordinary number of spot welds along each rail (about 45 on each side), and the welds were smaller and more closely spaced than what is normal around the rest of the car.  This pretty well eliminated the possibility of using a conventional spot weld cutter in this area as there just wasn’t the room necessary to fit the tool in the confined space.

The solution to this problem was to revert back to my trust cutoff wheel to very carefully grind through the spot welds just enough to allow them to be popped loose with gentle prying/peeling on the loose end of the scrap roof skin.  On first blush, this sounds like a horribly barbaric means to address spot welds (Ted thought I was positively off my perch), but as long as each weld is clearly marked before you start, and a very careful and light hand is used on the cutoff tool, you will be amazed at how quick and effective this method of spot weld removal can be with absolutely minimal impact on the thin, underlying base material.  In fact, once I got going, each drip rail required less than 15 minutes each to remove and that included cleaning up any burs left behind.  Sometimes you have to see it to believe it, but the technique works and works extremely well.
Now that the old roof skin was completely out of the way, I spent a few minutes grinding down the remaining spot weld nubs around each window opening and across the top of each quarter panel seam.  Then, it was time to test fit the new roof skin to see where we were in the grand scheme of things.

Much to our amazement, the new roof skin almost dropped right into place with nearly every flange settling nicely and cleanly.  We clamped the panel around the flanges and started assessing the fit more critically and found that only small tweaks would be required to get the roof to fit almost perfectly.  The critical contours appear to be spot-on and after some small tweaks to get the roof shifted toward the driver side by about 1/8”, we should be in excellent shape when the time comes to lock it down for good.  To say I am stunned at this stroke of fortune would be an understatement!
Now comes the tedious task of addressing the surface rust on the inner roof structures and getting everything prepared for welding.  Every flange will require exceptionally tight fit to be properly and cleanly welded into place with maximum effect and best appearance and many hours of prep work will be required to get there.  So, the next few weeks work has been defined and we are off and running in that direction.  Part 2 is on the way!

To ensure the fit of the new roof skin would match the original as much as possible, patterns were made to match the front and rear window openings and to allow exact measurements to be taken at precise locations around the opening so fit could be verified.
 
A single pattern was made for the front window opening that could be simply flipped over to verify the other side.  Measurements were written directly on the pattern for reference later on.

Here is the front window patter flipped to the passenger side for fit.

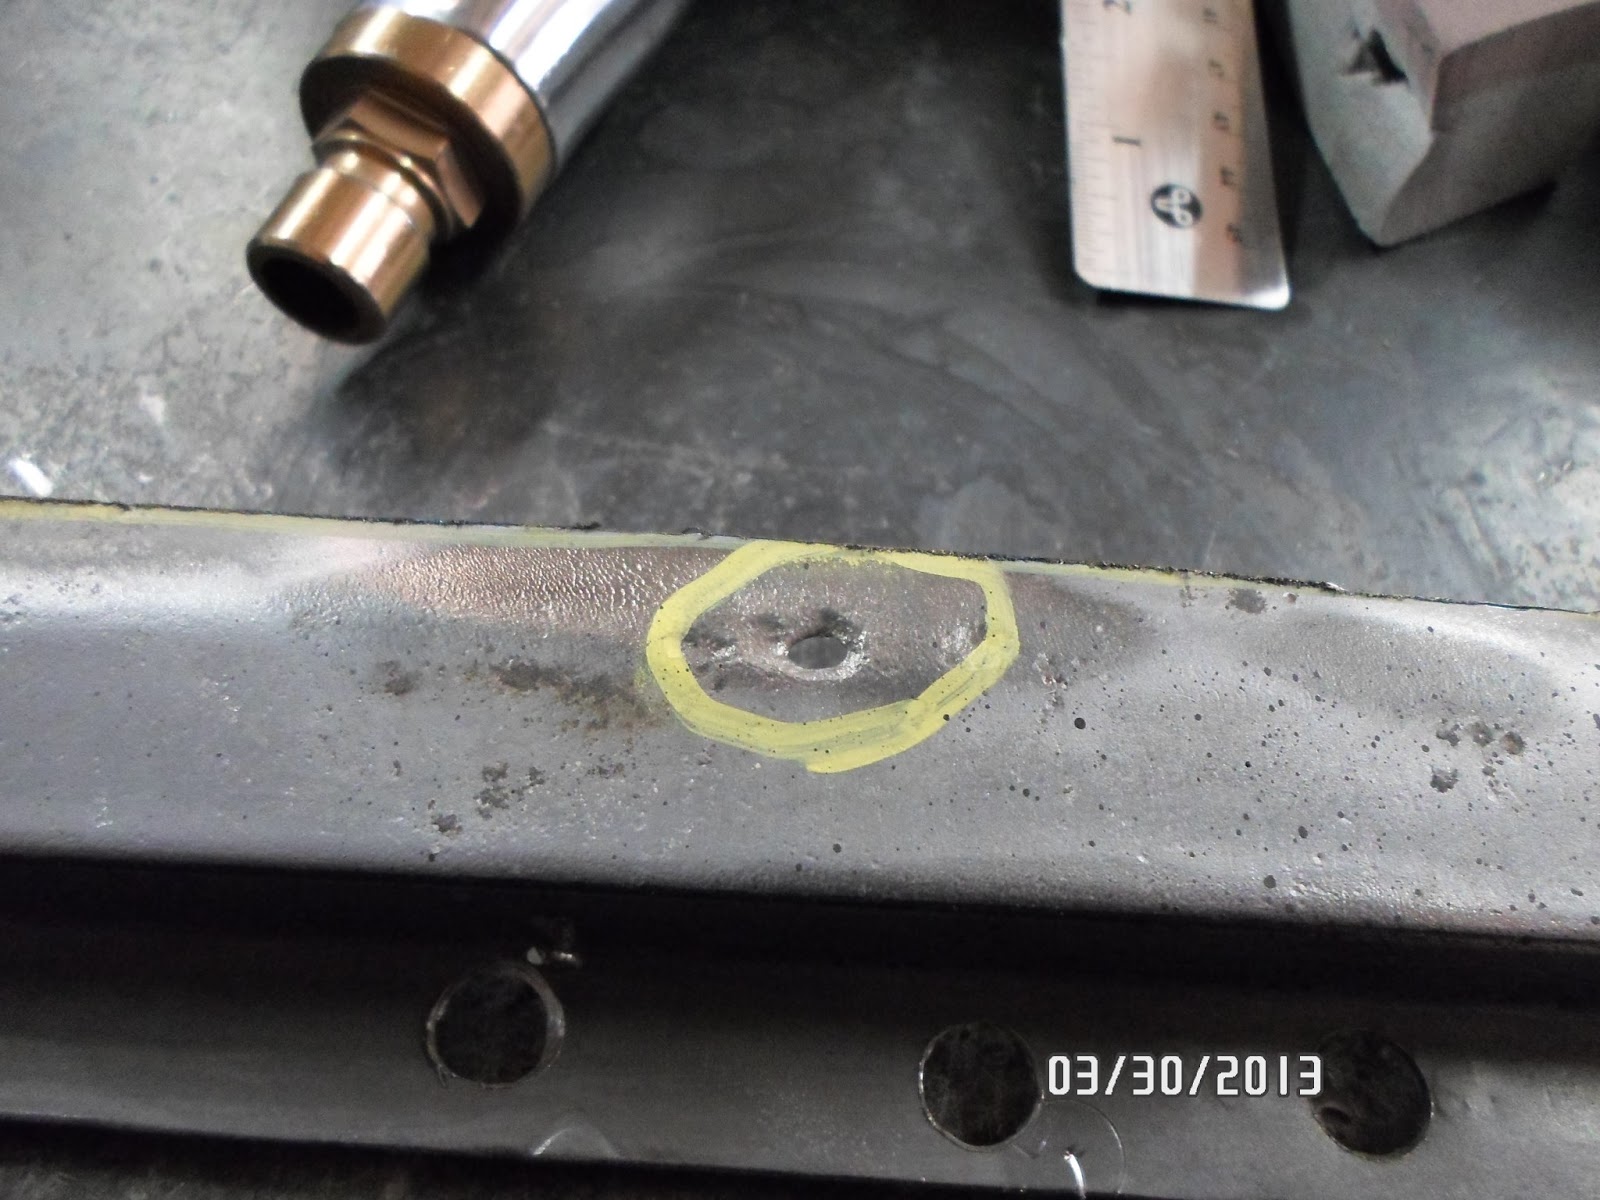
The hole in the middle of that yellow circle is what started the entire roof replacement discussion (more later).  More importantly, you can clearly see the yellow cut line I marked with my paint pen and the clean cut created by the cutoff wheel.

This is the cut line around the rear window opening.
 
Here is the cut line around the top of the front window opening.

I kept the cutting depth rather shallow to avoid damage to the underlying roof structure.

I was expecting a disaster under the roof skin once it was removed, but to my amazement, the roof support structure was in excellent shape with only surface rust to be seen.


This is the spot that changed everything.  After breezing over this rust spot with a wire brush several months ago and immediately breaking through, I though the world was truly against me.  Since it was located above a structural beam and I couldn't see it from behind, I feared the worst was being hidden from view.

This is the same spot from underneath.  What it shows is the pit was exclusive to the outside surface and not disguising a disaster on the inside.  Though this photo makes the interior surface look worse than it is, careful inspection shows a lot of clean metal, a fair amount of red oxide primer over spray and a smattering of surface rust.  As odd as it sounds this was a fantastic discovery.


Again, worse in pictures than in person, the inner roof structural beams were in excellent shape with only surface rust to contend with.

Even in the rear quarter to roof flange area, the condition of the metal was excellent.
 
This little bump in the middle of the rear roof brace is actually an alignment aid used to get the roof skin properly positioned during production.  It will serve the same function when the time comes to fit the new roof skin.

We were careful to remove the front and rear window flanges intact so they could be used to verify the contours and fit of the new roof skin in this area.  They will also function as patterns to position the trim rivets when the time comes.

The Blair spot weld cutter does an excellent job cutting spot welds on a job like this.

By comparing the original window flanges directly to the new roof skin, we were able to verify the new roof skin would work very well for our needs.  Quite a comfort seeing such good fit on panels separated in manufacturing date and tooling by some 43 years!

The front upper windshield beam is in excellent shape as well.


Upper windshield corner looks great!

Diver side quarter panel upper seam doesn't get much better.

Using a unique spot weld cutting technique, the drip rail roof sections were removed quite quickly and with virtually no damage to the base material.  Cool trick!

With all of the spot weld nubs ground smooth, the new roof skin dropped on with amazingly good fit.


With only the window flanges clamped, even the quarter panel flange fit is superb.  A couple of strategically placed Clecos and we will be in business.

Beautiful front driver side window opening fit!

Passenger side front window fit is also excellent!