Have
you ever walked in your freshly mowed grass barefoot, savoring ever cool,
comfortable step, only to rudely discover your favorite family pet or
neighborhood menace has left you a warm, creamy surprise that is now gently
squeezing between your toes? ALL
of your toes???? Yep, that’s where I’m
at……..including the smell.
Fact
is……I blew it. I blew it and it’s my own
fault for the mess I’m in and now I am pondering what to do to get myself back
on the porch and close enough to the water hose to rid myself of this
embellishment so I can feel “clean” about my state of affairs again. And right about now, the “porch” is way the
hell over there!
When
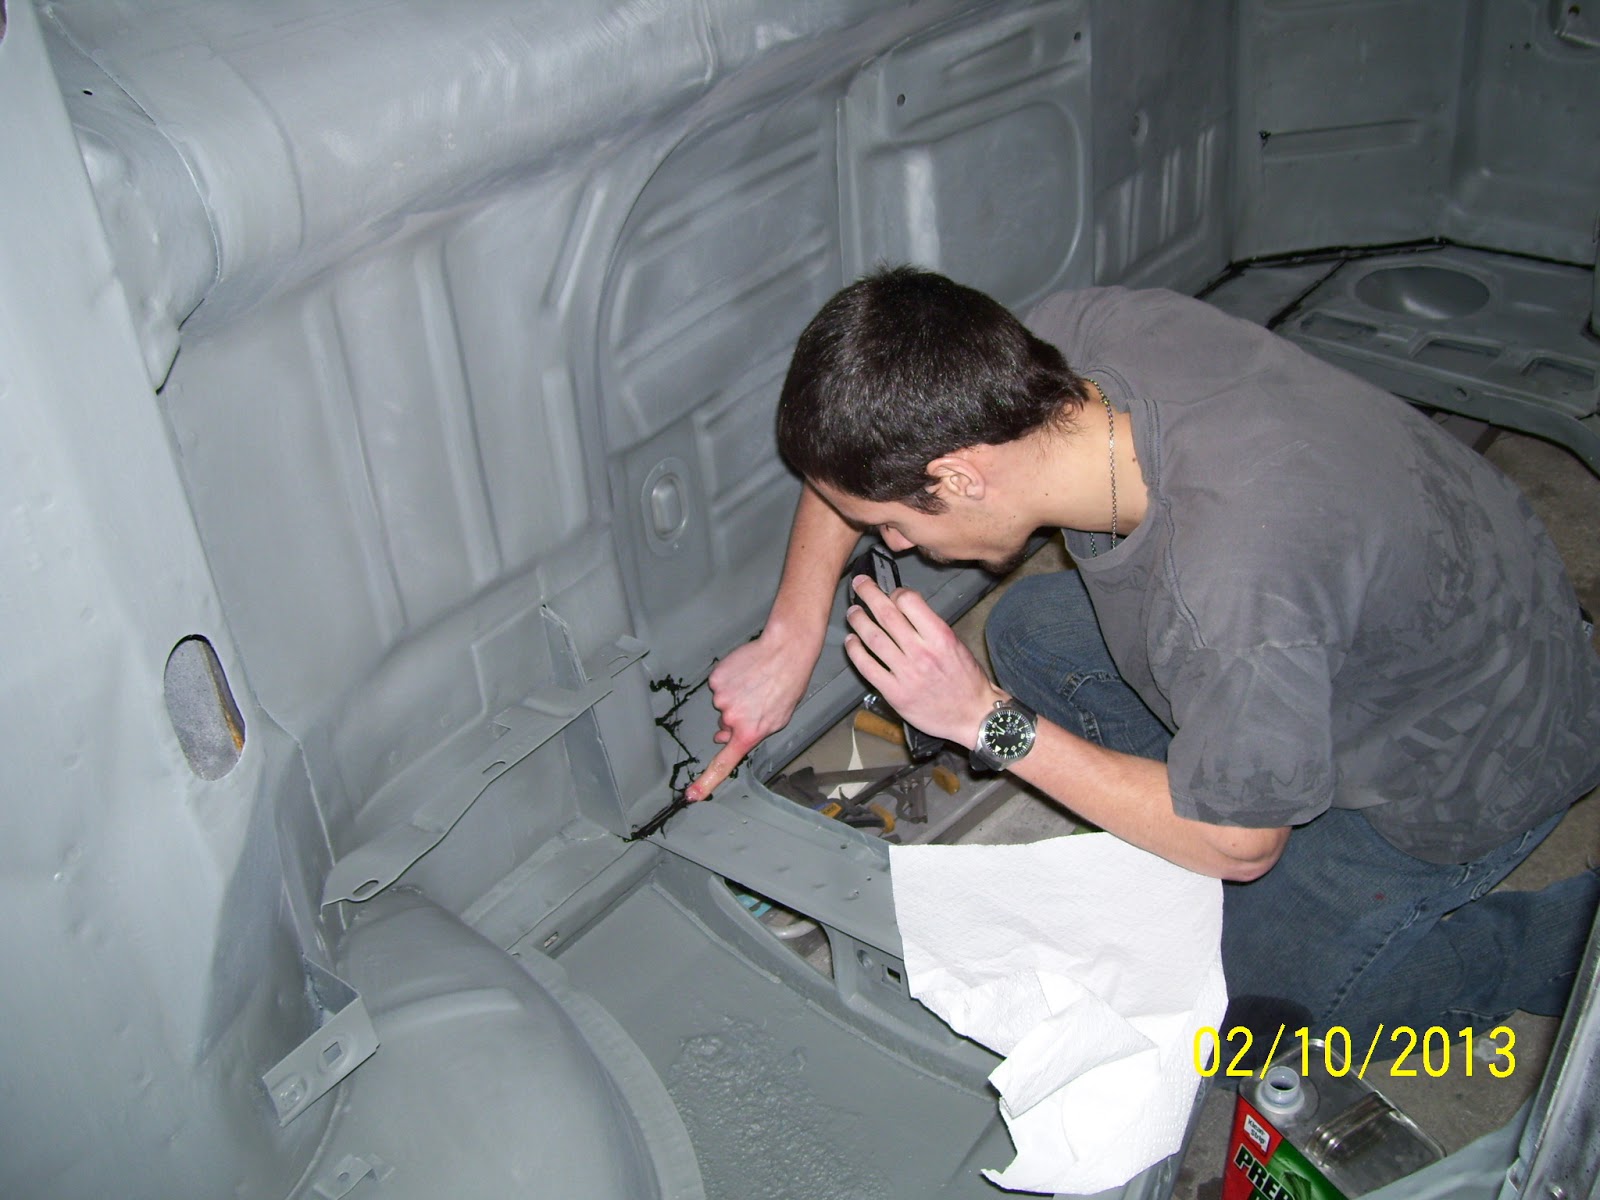
we last left off, the interior floor had been completely seam sealed and the
comfort level with the 3M urethane sealer was high. With momentum on our side, we drove straight
into seam sealing the exterior floor with enthusiasm. We began by carefully taping each side of the
seams on ½ of the exterior floor to begin applying the 3M urethane seam sealer
and smoothing the edges as planned. Only
this time, I would be using the grey version of the sealer (3M Part # 08361) as
it would more closely match the primer color and I happened to fall into a good
deal I couldn’t pass up on 4 fresh tubes of the stuff.
In
theory, this should have been a cake-walk job as all we needed to do was follow
the same techniques we used on the interior floor and we would be golden. In fact, everything about the “technique”
side worked exactly as planned………with one tiny little exception. For some unknown reason, I had a mental
misfire and decided to use old fashioned big-box store lacquer thinner as the
solvent to smooth the seams as we put them down. After all, I had a fresh gallon of the stuff
handy and I quickly discovered it worked phenomenally well in smoothing the
seams to a glass-smooth finish……..and that’s where the wheels fell off the
wagon.
I’m
telling ya…..we were making smoke! This
stuff was laying down smoooooth and we were moving through the project like
poop through a goose. As we approached
having the first half done, it was time for the requisite potty break, so in
the house I went for a slight pause in the used beer department (ok, used
coffee ‘cuz I HATE beer, but you get the idea).
On my return, I decided to check the first few sealed areas to see how
things were coming along. I might have
mentioned this stuff cures rather quickly……..most times……..if you do everything
right…….and you give it a little time…….it USUALLY cures quickly.
Well,
my discovery was of the warm, squishy variety mentioned in the first
paragraph. Not only was the sealer just
as sticky and creamy as the moment I put it on, it still smelled like it came
fresh out of the tube. SH*T! What the…..
Immediately,
all manner of progress came to a screeching halt, my restoration “man-card” was
on the brink of revocation and the entire operation was packed up for the
night. I decided the best position to
adopt was to stop where I was and see what happened after a solid 24hr drying
period. Normally, this would be plenty
of time to have the sealer cure quite nicely.
24
hours came and went. Then 36. Then 48
hours passed until I had the courage to go back out into the shop and see what
had transpired. With severe anxiety, I
extended my stubby digit into the thickest section of sealer and………..damn near
pulled back a stump! SH*T! SH*T!
SH*T! My greatest fears were immediately
realized in one simple motion. Like a
fresh, industrial-strength rubber booger, the sealer was just as raw and fluid
as the moment I put it on. Not a hint of
curing anywhere, on any seam. And
then……..depression set in.
What
now? How do you get uncured urethane
sealer out of the seams with any hope of having them clean enough to reseal
later on? Moreover, why the hell didn’t
it cure!?
And
then, like a punch in the gut, it started to come to me. I changed something in the system. I changed something out of convenience and it
bit me in the butt. The lacquer thinner! That was the ONE thing I changed and that HAD
to be the culprit! But WHY?
So
the research and noodling began. What
about the lacquer thinner trashed the party and how was I going to correct this
error so we could get back on track? So…..I
started with basics: read the product
info for the sealer. Blah, blah, blah……tools
easily……moisture curing…….use no solvents containing alcohol……stops the curing
process…….wha? Come again? Stops the curing process? Alcohol huh?
But I used lacquer thinner and that……….(read the ENGLISH side of the can)…….HAS
ALCOHOL IN IT! Methanol to be
exact. Suddenly, my love affair with
this awesome form of racing fuel has become tarnished forever! The entire operation was undone by the very
thing 3M tells you to avoid – alcohol.
So
now I knew the cause of my dilemma, but what of the solution? More noodling. Days of it in fact before I reasoned through
the solution (and monitored the state of the urethane sealant over time). After a week, the goo was still goo, so I
started digging at the thicker sections to see how hard it would be to scrape
out. What I discovered was an unexpected
and welcome surprise. Beneath the
uncured surface of the urethane was nicely cured sealer! Almost immediately, I realized the substance
that was at the root of my grief was now going to deliver me from this evil if
I was patient and careful. So, it was
time for a test!
Using
a cheap paint brush I cut down to make the bristles short and stiff, I poured
some fresh lacquer thinner in a bowl and proceeded to scrub the crap out of a
one-foot long section of uncured urethane sealer to see what would happen. To my utter amazement, the uncured sealer
washed cleanly away leaving only the cured urethane behind, which as luck would
have it, is quite impervious to the lacquer thinner when fully cured. That’s it!
After an overnight drying stint, I came back the next day with my
fingers crossed and discovered that the cleaned section was free of uncured
sealer and although I would have to scuff and re-prime the areas to cover the
small areas of exposed bare metal, I had a solution to the problem that worked!
Essentially,
what I had discovered was that only the sealer that had come into direct
contact with the thinner was prevented from curing. But, the sealer deep into the seams and
crevices that did not come into contact with the thinner cured normally by
simple exposure to the moisture in the ambient air. How lucky can you get?
So,
with a solution developed, Ted and I set about three tedious days of scrubbing
every last hint of uncured urethane seam sealer out of every seam we applied it
to using our bobbed paint brushes and lots of lacquer thinner and paper
towels. It was messy, nasty and sticky
work, but in the end, what we were left with was cleaned seams (again) and many
areas that required fresh scuffing and primer to get back to level on the dial
and start back in a positive direction.
With
our clean-up work complete, we prepped and primed the suspect areas with two
coats of DP40LF primer and let everything cure for a few days before sizing things
up for our next seam sealing adventure………without all the drama. I promised I’d show the good and the bad in
this build and there ya go! I sure hope
this helps someone avoid making the same mistake I made!
 |
| What a beautiful place to start a seam sealing job, eh? Nicely scuffed and cleaned exterior floor. |
 |
| Taping the seams is a technique that allows me to geth the finish on the seam sealer that I want. After applying the sealer, we peel the tape off and smooth over the sealer once again for a nice clean look. |
 |
| And here is where things went off the rails! Though those seams look nice and smooth, the sealer would not cure because I sued lacquer thinner as the solvent and the methanol contained in it stopped the urethane curing process DEAD! |
 |
| Yep. Thant pretty much sums it up. |
 |
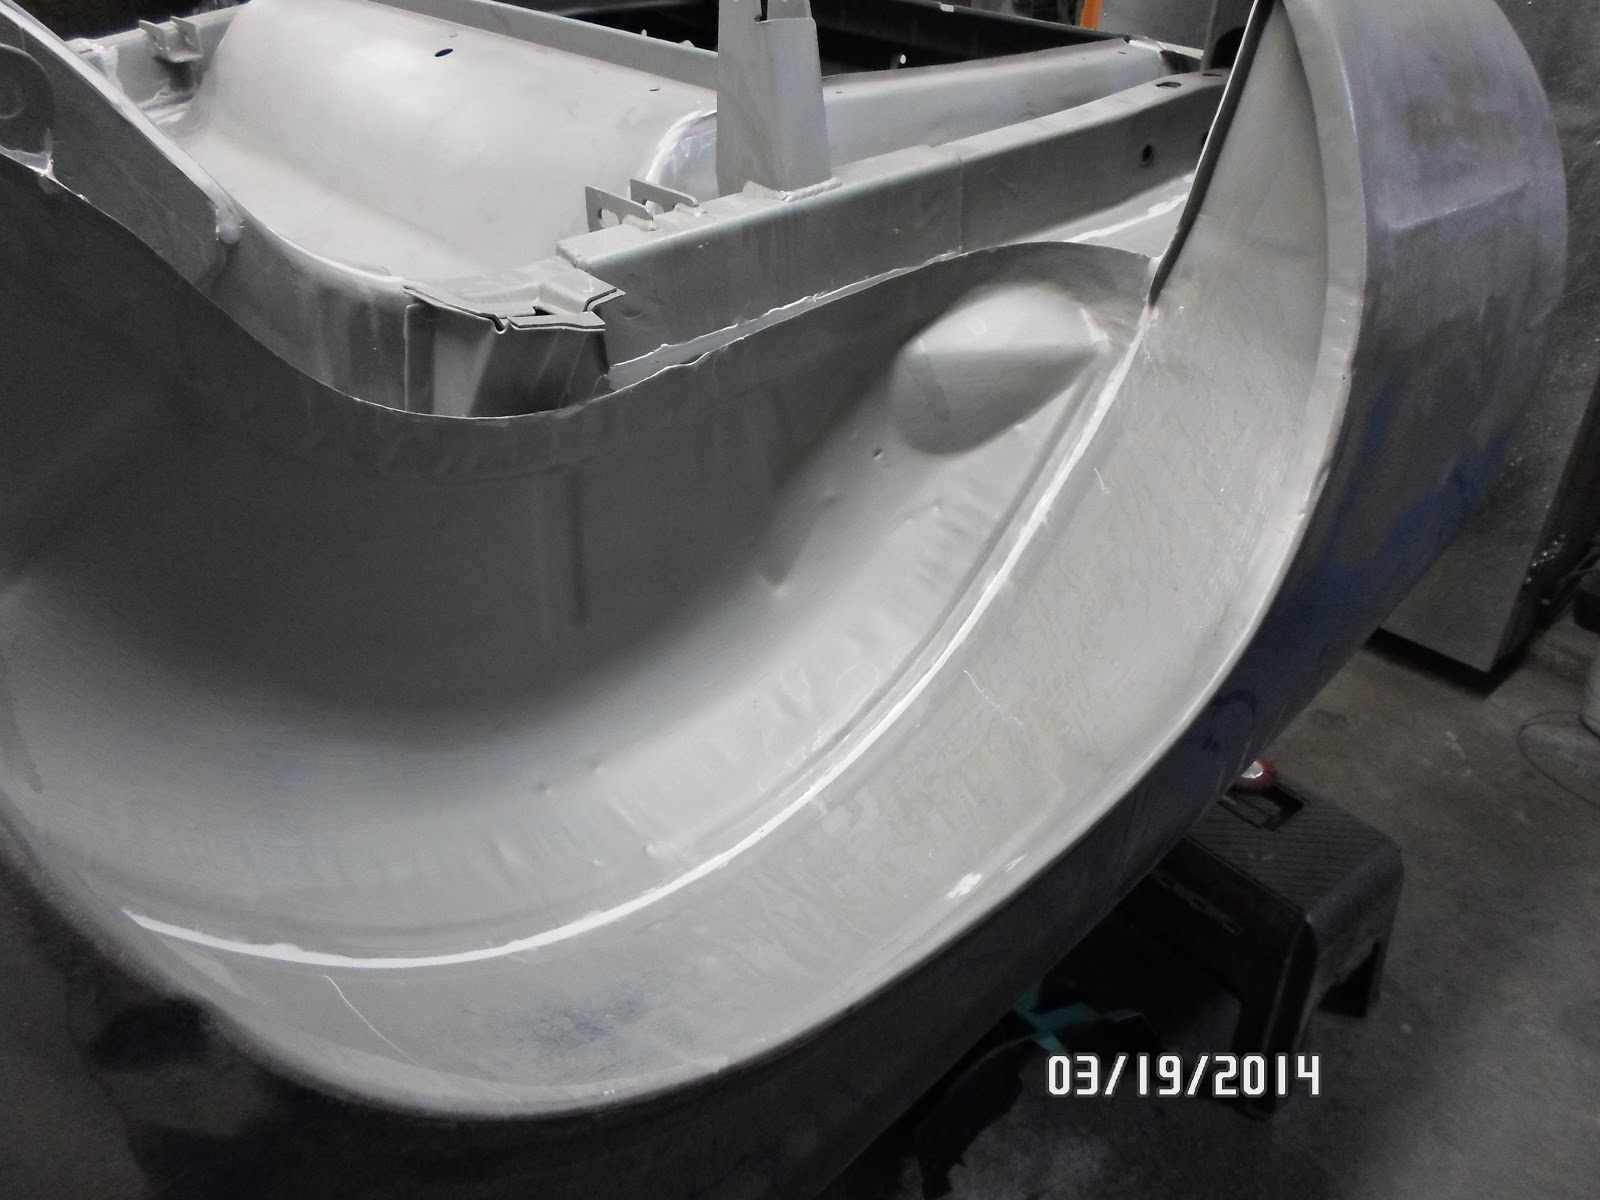
| After three days of scrubbing the uncured seam sealer off the car, what was left was thin traces of the cured sealer and a lot scuffing required to get the surfaces ready for primer. |
 |
| Here, the thin (almost white) traces of seamk sealer are all that is left after the serious scrubbing they got to remove the uncured sealer. What was left behind was solid, fully cured sealer. Yay! |
 |
| Here Ted is swabbing everything down with wax and grease remover in preparation for re-priming the seams we had to clean up. |
 |
| Here is the floor after two medium coats of DP40LF primer. The shinier traces around the lower seams is the fresh primer. Thanksfully, we had only done about 1/3 of the lower floor pan before the wheels fell off the wagon. |
 |
| Re-primed axle tunnel area. |
 |
| Re-primed trans cross brace and shifter area. |


.JPG)