It is no secret that I couldn’t hate sand blasting more. Having spent hours in sweltering heat shoving sand into every imaginable orifice of my car and my body, I’ve had plenty of time to think, cuss, pray and hope for some “miracle” method of removing rust without having to beat the snot out of the metal surfaces that I may not necessarily have wanted to. At the same time, it became more and more obvious to me that sand blasting is, in many ways, most limited in its “line-of-site” cleaning method, and no matter how many “tricks” I could come up with, I simply could not figure out a good way to remove rust from enclosed panels (e.g., torque boxes, frame rails, rockers, etc.) or from the back side of many exposed panels like the interior body structural panels. I have talked to countless restorers and hobbyists who evidently resolve themselves to simply do their best to remove what they can by hand after sand blasting or simply choose to ignore the issue figuring it will never rear its head during their lifetime.
Another drawback for me was the simple fact that sandblasting is a “fair-weather” operation that simply ceases to be an option for the better part of six months out of the year here in Michigan when winter weather socks us in. This has a way of bringing good restoration progress to a grinding halt, allowing the dreaded “cabin fever” to set in at the most unwelcome time.
Alternative methods of rust removal are actually fairly few. The almost universally ill-advised method of “dipping” a body shell in a caustic solvent concoction to remove all manner of paint, sealant, undercoating, adhesive, rust and a fair amount of good metal was never a prospective solution on my car. Too many times have I heard and seen the terrible after-effects of the acid cleaning solution leeching its way out of hidden seams and flanges years down the road, ruining expensive bodywork and paint and sometimes even the very structure itself even after thorough rinsing when the job was completed. No sir……not for me.
So anyway, I have been pondering and researching other alternative methods of rust removal and may have just stumbled on the closest thing to an automotive restoration “miracle”. The process is generically called “chelation” (Key-Lay-Shun) and is quite new technology, having only been around for about the last 10 years or so. Apparently, chelation technology has been around in the medical industry and is used in the event of “heavy-metal” poisoning (e.g., lead, mercury, arsenic, etc.) to rid the bloodstream of toxic metallic ions. Essentially, the chelant (Key-Lint) captures the metal ions and holds them in suspension in the bloodstream in a form that allows the body to naturally rid itself of these toxic ions. Clever technology to be sure.
Somewhere along the way, someone got the idea that this same characteristic may apply to rust (iron oxide) and pretty soon, the chelation process was found to be a surprisingly mild but amazingly effective rust remover. Acceptance of the idea that a fluid that is 80% water and can be disposed of like mop water could actually remove rust anywhere water could go is another thing entirely. Even though I too found the idea somewhat hard to grasp, I set off to research the possibilities of such a rust removal method and got increasingly intrigued by the possibilities.
From a commercial rust removal standpoint, it’s not likely that you will find many restoration shops rushing out to adopt chelation as a profitable means of rust removal. First off, it’s a slow process that can require a good bit of simple, but rather bulky equipment to get working. Secondly, the chelant itself can be rather expensive and somewhat short lived. But once you see the process work, you mind races around just LOOKING for rusty parts to restore.
After a while, I decided a test flight was a necessity and quickly took inventory of the landscape surrounding the chelation process and few things became glaringly obvious. To begin, the selection of chelation products is can be categorized into two groups: 1) “ready-to-use” product or 2) concentrated product. Now, remember I mentioned earlier that the chelant was an 80% water solution and the products are expensive? Well, the tightwad in me quickly decided I wasn’t about to pay someone else to ship me several gallons of WATER via the costly ground shipping services just to get a few pints of chelant. So, without further contemplation, I decided to focus on purchasing the concentrated product and supplying my own water, realizing a SIGNIFICANT savings in the end. Suddenly, the up-front cost of entry into the chelation process just got a little less painful.
So for my first foray into the chelation experiment, I purchased two gallons of concentrate from a supplier who had perhaps the most visually convincing websites on the subject. After a few pointed Q&A emails, I dropped the bones and waited for the product to arrive. When it did, I wasted no time in reading every shred of material included with the product and promptly set off mixing up my very own chelation solution in a 1:4 ratio (1 gallon chelant with 4 gallons distilled water). Having no real idea what I was doing, I mixed up a full 10 gallons of solution (won’t do that again) and started my experimentation.
The chelation process has two basic methods of application to remove rust from any part. If the part is relatively small, it can be very effectively cleaned of all rust by immersing it completely in the chelant for a period of time. The time required will depend heavily on the cleanliness of the part (no oil, grease, dirt, etc.), the amount of rust and the temperature of the solution. Removal of the rust can take a little as a few minutes to several hours.
The second application method is constant spray of the chelant onto the rusted part. This is quite good at removing rust from large body panels, but requires quite a bit of equipment to be effective and tends to be a bit messy until you get the hang of corralling the fluid and keeping waste to a minimum (still working on this little detail).
I started quite simply by immersing my crusty old front cross member and a pair of rear headliner tack strips in the solution overnight. All of these parts were covered in rust and I figured I could afford to lose them if everything went wrong. To my absolute amazement, all of the parts were completely void of all rust after about 10 hours of soak time in the solution! Forty years of crusty rust was simply washed away from the cross member and both tack strips looked as though they were fresh out of the stamping die. Not being so easily convinced, I took one of the tack strips to work with me and put it under a 100x stereo microscope to see just how effective the rust was removed. Again, to my utter amazement, there was not one single hint of rust on the part even in the deepest pores of the micro-pitted surface. This stuff is truly amazing.
My next experiment involved cascading the solution over my severely pitted roof panel to see how that technique would work. Here is where my own carelessness bit me as I found the tarp I used to try and channel the solution into the wading pool reservoir I fashioned leaked and deposited over half of my precious miracle fluid all over my shop floor. Ugh! After a string of choice expletives and mental fit-throwing, I managed to get a Rube Goldberg recovery apparatus configured that worked pretty well and also refined my application method by building a spray bar delivery system from some PVC pipe and fittings. This worked acceptably and the roof began showing incredible improvement after several hours of soak time. Unfortunately, my fluid volume was no down to about 4 gallons and it quickly saturated with rusty solute and the process slowed considerably. I should note that this is NOT the fault of the fluid but my own carelessness. Had I not managed to loose so much of the fluid on the floor, the cleaning action would have been much quicker and more efficient. In spite of my rookie failings, I consider the experiment an overwhelming success and I will continue to refine the process and experiment more thoroughly as I continue eradicating the rust on my car.
Before I wrap on this installment, I must share a few caveats to this entry for clarity. First, I purposely have not mentioned the product I used as I am not quite ready to offer an endorsement given I have only tried one of the two concentrated products on the market. My next round will be with the second product and after a fair evaluation of each; I will divulge the source I feel is best. Secondly, I have discovered MANY ways the process can be refined and improved for the home restoration enthusiasts. Things like heating the solution for increased effectiveness and speed and filtering the solution to increase life are all tasks I intend to tackle and fully document here. So, rest assured, there will be at least two or three more installments on this subject as I move forward and I truly hope it will provide inspiration to many on what the chelation rust removal process can do. As for me, I can hardly contain my enthusiasm for the prospect of walking away from sandblasting for the majority of rust removal work that remains! Stay tuned!
![]() |
| As I have decided to dedicate to using the chelation rust removal process throughout my restoration, I decided to invest in clear, 5-gallon storage jugs to store my stock of fluid. The chelant concentrate is to the right in the two one-gallon jugs and has a slight yellow tinge to it. |
![]() |
| The chelant concentrate will not become "active" until you add water. However, the quality of water you add can have a huge influence on the effectiveness of the solution. The absolute best option is to use pure distilled water, which runs roughly $1/gallon at the local grocery store. |
![]() |
| In my other life as a custom powder coater, I am constantly fighting flash rust problems on bare steel. This custom bike frame was a great candidate for gentle rust removal and I discovered the solution works fantastic on removing flux residues from the brazed areas. The color of the fluid is very exaggerated here due to the influence of the lavender-colored material of the wading pool combined with the slight yellow color of the chelation solution. |
![]() |
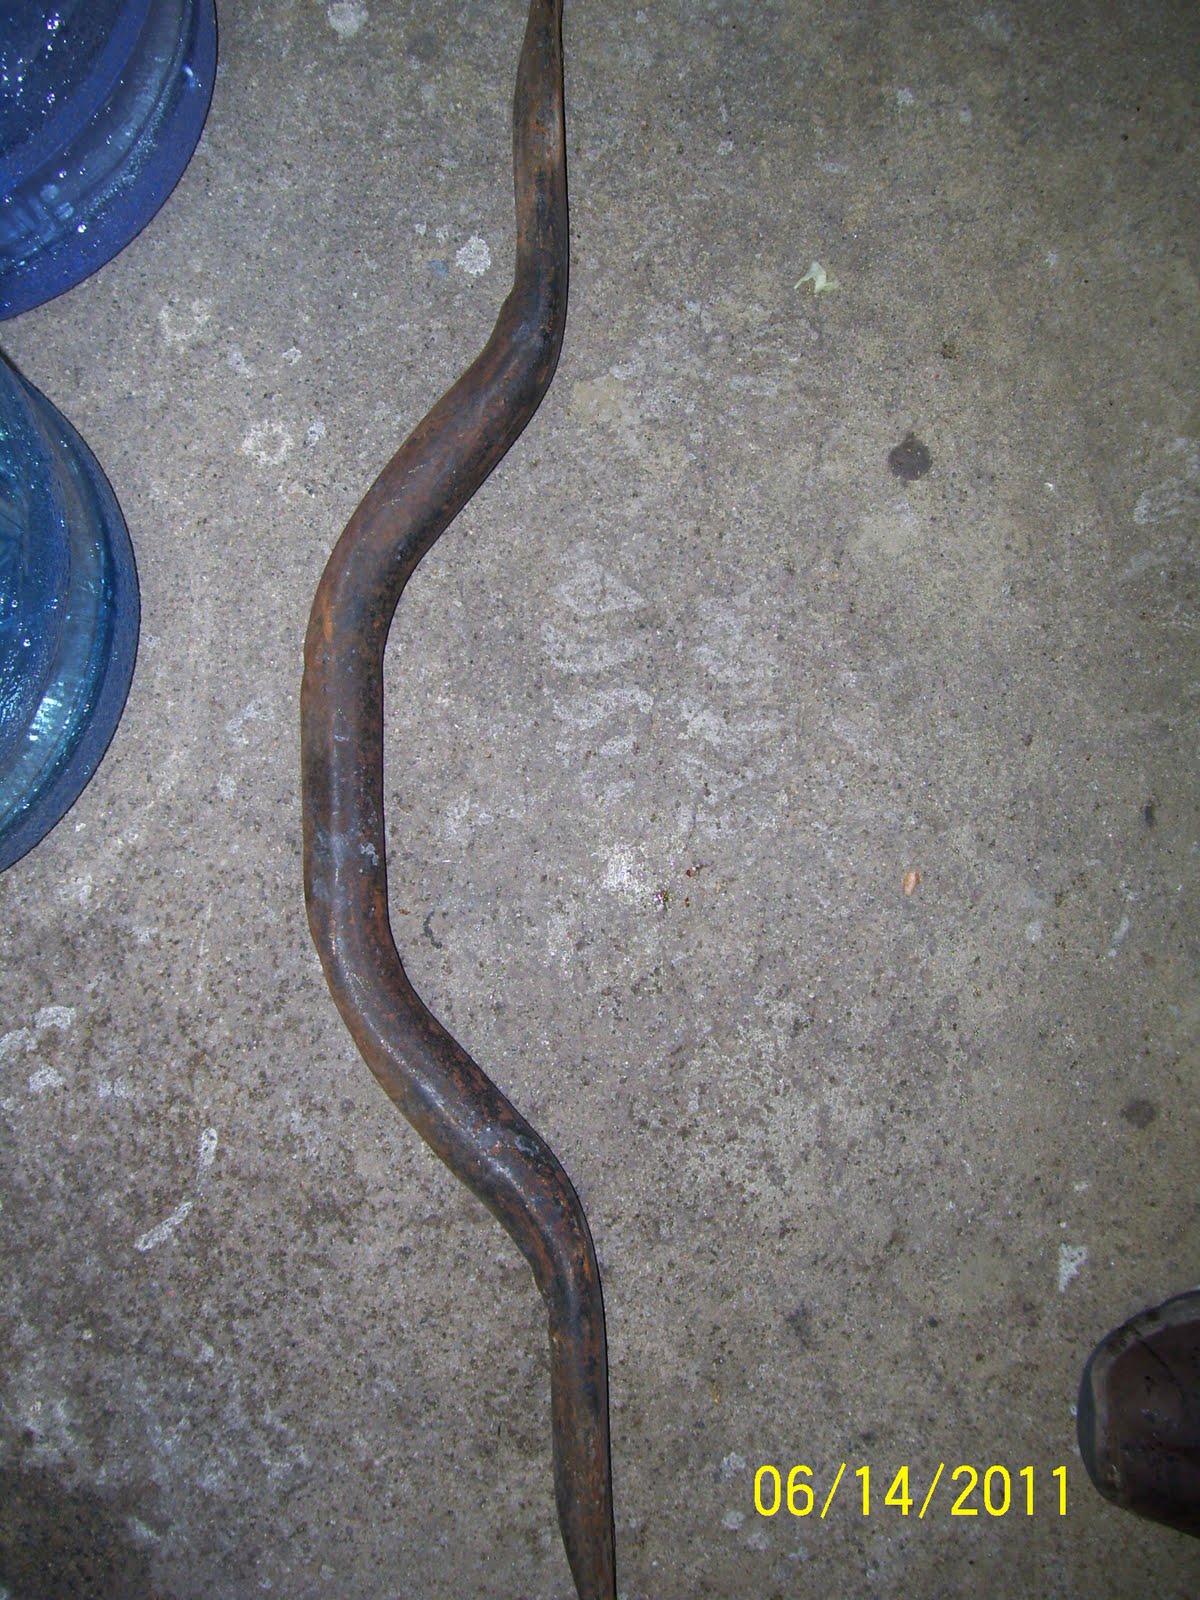
| My first "real" test of the chelation rust removal process was on my old, original Mustang cross member. Other than being power washed, what you see is the sum of 40 years of neglect. |
![]() |
| Side view of the rusty cross member. |
![]() |
| Close-up view of the cross member for future reference. |
![]() |
| After an overnight soak in the chelation solution, All that remained of the original cross member was nice clean bare steel and original paint. |
![]() |
| Here is the top view of the cleaned cross member. |
![]() |
| Here is the "after" reference close-up. The results were truly hard to imagine. Absolutely no rust anywhere with the added benefit of leaving the paint untouched. |
![]() |
| My second and perhaps most impressive experiment was to remove the rust from these two headliner tack strips. You can see that both parts were completely covered in surface rust. |
![]() |
| An overnight soak and both tack strips looked like they were fresh from the stamping die. Cloe-inspection under a 100x microscope showed that every last bit of rust had been removed, even in the deepest mirco-pits in the metal surface. |
![]() |
| To try the process on a larger scale, I needed to devise a way to apply a cascade of solution over the surface of the panel. I picked up these inexpensive garden sprayers for my first attempt. |
![]() |
| Careful adjustment of the "throttle" on the sprayer allowed a section about 10 inches wide to be treated at one time on my roof panel. Not quite what I wanted. |
![]() |
| Re-orienting the sprayer to the side and changing the spray pattern to more of a shower, I was able to cover slightly less than half the roof panel. Also, this section had been previously sand blasted, so don't mistake the contrast line in this photo for an indicator of the effectiveness of the process. That comes later. |
![]() |
| With the cascade method of application, the task of recovering the fluid is tougher than you think. It took a few fumbles before I got it right. |
![]() |
| Unfortunately, my biggest fumble cost me over half of my expensive solution in only a few seconds. Lesson 1 in "what not to do". |
![]() |
| I had to devise a number of down-n-dirty recovery aids to avoid expensive fluid loss. A scrap of aluminum dryer duct material worked great as a drain trough back to the wading pool reservoir. |
![]() |
| After about one hour, the reduction in rust is quite noticeable. |
![]() |
| After 4 hours, only slight traces of rust remain in the deepest pits. The darker shaded areas are spots where black oxide residue has settled on the panel. Black oxide is not detrimental and is easily cleaned off the surface. |
![]() |
| This is a close-up of the deepest pitted section of the roof panel. Absolutely no rust remains after about 10 hours of treatment. |
![]() |
As my enthusiasm and excitement gained momentum, I devised a spray bar from PVC pipe to distribute solution over the entire roof panel evenly. This method proved very efficient and effective and I will use variations on the theme in future rust removal exercises. |
![]() |
| Here, you can see the extent of rust on the rear half of the roof as I began the chelation process using the spray bar cascade method. Take careful note of the large, oval patch of rust in the middle of the image. |
![]() |
| After about 4 hours under the cascade, you can see that the large patch of "rust" actually included a significant area of red oxide primer that was otherwise undetectable! Also, note the significant reduction in rust on the surrounding surface. |
![]() |
| As the chelant holds more and more rust in suspension, the fluid becomes darker. The instructions say the fluid remains effective until it becomes pitch black (saturated). Unfortunately, I lost so much of my fluid in my inadvertent "spill" I couldn't complete the roof before the remaining fluid was saturated. Valuable lessons learned in any case. |
![]() |
| Here is an eye-opening contrast. The left side is the roof panel as it started and the right side is the roof panel when I reached the stopping point. While some rust still remains to be removed in the deepest pits, the rest is completely gone and the remaining metal looks almost factory fresh. Yep........I think I'm definitely on to something here! |


All I can say is WOW. Most of my rusty parts are fairly small at this point so your research is going into production in my garage as soon as you finish educating me in this series. Thanks Sven!
ReplyDeleteThanks! I continue to be impressed with this process and discover more interesting things as I go. I am genuinely excited about the prospects of truly geting rid of the rust on my car more completel;y than I ever imagined. LOTS more to come!
ReplyDeleteGood grief, that's amazing! Like Alex, most of my rusty parts are small...the idea of tossing a few bits in a bucket of magic solution, rather than hours blasting (if I had a cabinet!) is genius. I see you have gone to the trouble of taking out the brand name of your chelating ions...would you be willing to share this privately?
ReplyDeleteThe reason I blanked the chelation fluid supplier info is that I am not quite ready to go on record with a rave review just yet. There is a competitive product out there that shows equal promise and I have discovered a few things that I wanted to run to ground (electrical punn just for you! Ha!) before letting too much excitement go. In any case, I will be glad to share the source info on the product that I used here with the caveat that I think more testing is required. Shoot me a note offline at swpruett(at)comcast.net and I'll fill you in.
ReplyDeleteSW, that's amazing! Did you set up some sort of pump for your PVC spray bar? I'm in the same boat on my '68. Definitely interested in the product and process. Your ideas on this blog have saved me a bunch of extra work. You da man!
ReplyDeleteThanks Dennis! I bought a small emergency submersible sump pump from the local Home Despot as my circulation pump. It uses common garden hose fittings so distribution of the fluid is very easy. I will detail more of the equipment in my next few posts on the subject, and there are a few refinements to the process I am working out that are worth the wait. Glad this is proving of interest!
ReplyDeleteSven, that is amazing! I like your blog because there so much learn. The way you do things it just blows mind. I have been working on my 68 Mustang and I was just wondering how I was going to get rid of the rust! I will be waiting for the next installment.
ReplyDeleteJeff
I really appreciate the comments and am very glad the blog is serving it's purpose to provide something of value. I have a bit of priming to do before y next chelation installment, but more chelant is on the way and there will be plenty more info on this process in the weeks ahead!
ReplyDelete