We
are ROLLING and it feels good! With the
interior primed and scuffed we had reached the point that a brandy-new fuel
tank was needed to finish up the fitting requirements before the interior panel
seams could be sealed in preparation for finishing.
In
the interest of longevity and fuel system integrity, I had long ago decided I
would fit a stainless steel fuel tank in my car. The availability of stainless tanks is
unfortunately not very good, particularly if the goal is to have something that
looks like a production tank when bolted in place. Fortunately, I was able to find a very nice
polished stainless tank through recommendations on several Mustang forums. In less than a week, I had the new tank
sitting in the shop and began fitting the tank to the car.
One
major change I made right off the bat was to drill out the self-tapping screw
holes to allow conventional bolt-and-nut fasteners to be used to secure the
tank. Why? Because I like it this way and the fastener
choices are much more pleasing to the eye when finished. Also, I positively hate sharp pointy things
lurking under a car that never seem to spare an opportunity to bite you when
you least expect it and the self-tapping screws are excellent in this
capacity. Out they go…..
As
expected, I had to do a small bit of trimming of the outer tank mounting flange
to eliminate the hard edge interference on one corner. This was a very minor detail that was quickly
remedied with a cutoff wheel and some quick file work. However, once this was done, the tank fit the
opening perfectly and I was able to mark and drill the final three mounting
holes in the forward trunk floor lip, and after a quick pass with the deburring
tool, I was mixing up a small batch of primer and spotting over the fresh holes
in preparation for the seam sealing work to come.
For
me, seam sealing choices represent a real struggle. Some require bare metal, some require
primed/painted metal, some are solvent cured, some are moisture cured, some are
clay based, some are polymer based, etc., etc.
At the end of the day, I have firmly decided I don’t like seam sealers
designed to be applied over bare metal.
Too many opportunities to trap evil things and with the experiences with
the factory seam sealers and the piles of rust under them I discovered, I will
not duplicate that condition again if I can help it.
At
the end of the day, and following many, many hours of research, I settled on
the 3M Ultrapro Urethane seams sealers designed to be applied over
primed/painted surfaces. By definition,
this type of urethane sealer is “moisture cured”, which means it uses
atmospheric moisture to start the curing process. That, of course, is the reason that this type
of sealer should never be applied over bare metal as it will simply accelerate
the rusting process as a function of the curing process. However, since I had all surfaces solidly
primed with PPG epoxy and my ultimate faith in the PPG product is quite solid,
I liked this option best of all of those I examined.
For
the interior, I decided on the 3M #08363 black urethane seam sealer as it would
be essentially unseen in finished form and will be painted in flat black
urethane paint as a final interior finish before carpet and upholstery
installation. This product is a
moisture-cured urethane and can be rather easily tooled with water, or most
thinning solvents like paint thinner, wax & grease remover or Xylol
(xylene). It’s worth noting that the
interior was a perfect place to experiment with smoothing techniques since I
wanted to make sure we had the technique down before moving on to the
“cosmetic” seams on the exterior floor later on.
The
application gun used for these sealing products is not your run-of-the-mill
caulking gun, although they look for all intents and purposes the same. Specifically, the gun required to apply the
heavy-bodied sealers has a higher leverage ratio by about twice over the home
improvement variety caulking guns.
Generally speaking, you are looking for a leverage ratio of about 26:1
minimum to push seam sealers without killing yourself.
With
all of the prep work in place, the time was right and conditions perfect for
Ted and me to set off sealing ½ of the interior seams on one evening and finish
up the balance on a following evening.
This is very slow work as you can only apply about 12-18 inches of
sealant at a time max before you must shift to smoothing or it starts getting
pretty gummy. This time amount gets
proportionally shorter as the humidity goes up as this directly accelerates the
cure time and therefore leaves less time for tooling the seam. In any case, making this a two-person job is
the most efficient way to get the job done with relative ease and consistent
results. It’s messy work and you end up
contorted into rather unflattering positions, but having extra hands and eyes on
the job makes for a much less tedious experience.
After
about three tubes of sealant and two solid evenings of effort, the interior
seam sealing was complete and we could allow a few days of cure time to
evaluate the job. Fortunately, the
finished product looked very nice and the cured material was staggeringly
durable and well cured. I like this
stuff.
With
confidence in the 3M sealer high and a comfort level in the application
technique and smoothing, we began preparing the exterior floor for the same
treatment. This is a bit larger job as
there are several more seams that require careful smoothing. This will involve masking almost every seam
and smoothing and pulling the masking as we go.
This makes for very tedious work, but also ensures the best quality
finish and the smoothness I am looking for.
At the end of the day, I want the seams under the car to appear smooth
and molded after the application of the bed liner material. We will tackle that work in our next update!
 |
| Here's Ted looking over the fuel tank mounting area. Gotta fill it! |
 |
| Where the alignment drift is seen through the mounting hole was once the location of a self-tapping screw hole. I don't like these punched holes and the jagged and unfinished look they have so each one was drilled out and smoothed to allow standard bolts to be used for tank mounting. |
 |
| The buff stainless tank looks very tidy under the Boss. Also note the convenient fuel drain on the right front corner of the tank. |
 |
| Only slight flange trimming was required to get the tank to fit perfectly. Here is a shot of the nicely polished top from the interior of the car. |
 |
| Another shot of the polished stainless fuel tank top from the rear trunk lid opening. Too bad no one will ever see it! |
 |
| And the trick shot of the day! Here is a look at the INSIDE of the stainless fuel tank. just as nice on the inside as the outside. Lovin that..... |
 |
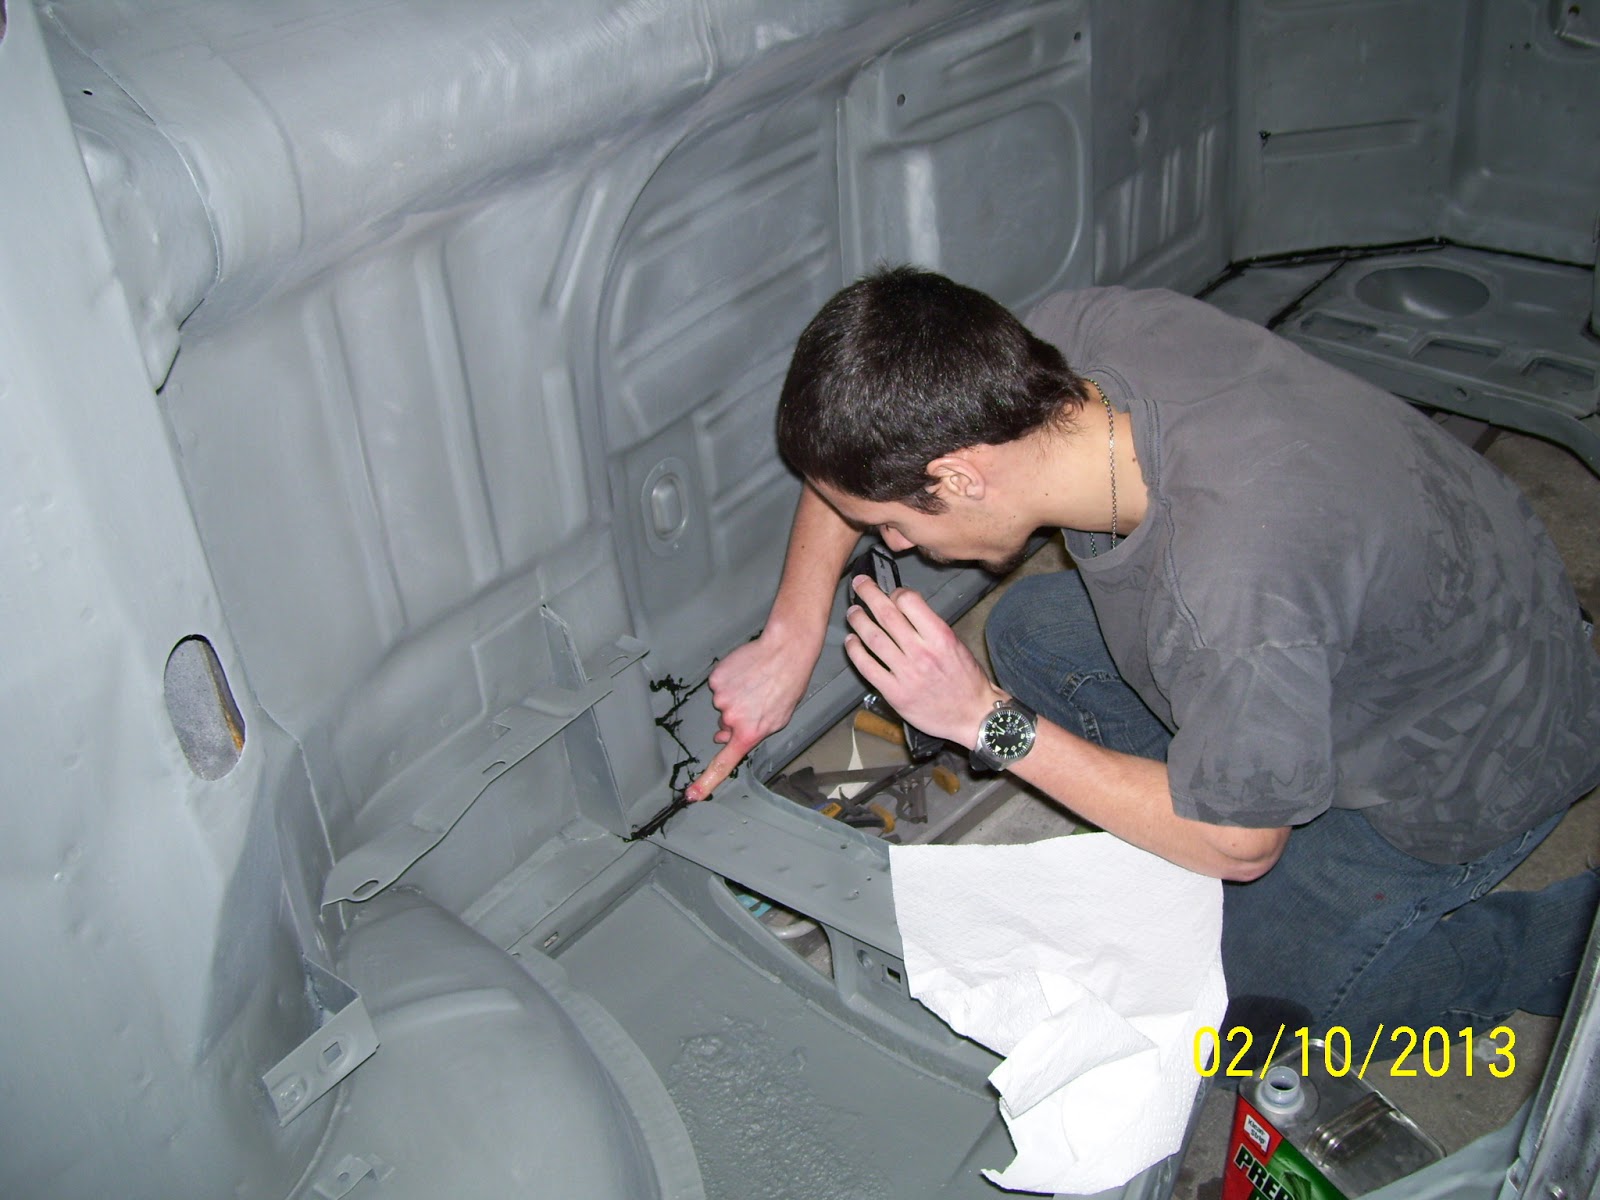
| Here's Ted again showing his well-honed skills at smoothing the 3M urethane seam sealer with a bit of Xylol. |
 |
| Right front interior panels all sealed up! |
 |
| Right rear interior panels seam sealed and drying. |
 |
| We tried a few different techniques for smoothing the seam sealer and settled on one that requires masking, smoothing, de-masking, and smoothing one last time. |
 |
| Left rear view of the sealed interior and trunk area. |


Looks amazing! I gotta get me one of those Teds.
ReplyDeleteThanks Alex! Those Ted things are pretty handy. Eat like horses and drink all the pop in the fridge, but they work when I work and don't whine much. Clean-up is easy too! LOL!
DeleteTedious work, but looks good. One step closer to a completed car!
ReplyDeleteSure is Grant, but I was quite pleased with the outcome. Lots more to go!
Delete