At
last, the Night Mission project has reached a point where actual formal
bodywork can begin! In my last update,
the left rear quarter metal work was completed and preparations were being made
to begin the careful process of applying fillers and leveling all of the
repaired areas.
In
most “collision” repair shops, the filling process is often a single step
process before primer and paint. Most of
what drives this technique is pure profitability in a cut-throat and
murderously competitive market where insurance claims dominate the landscape
and any technique to shorten the turnover rate equals serious dollars on the
bottom line.
The
obvious down side to this is that repairs are rarely of the quality that is
expected at the level “we” are looking for, and the incentive to
“cave-it-and-pave-it” gets higher as the day and project progresses. This is why I maintain my personal philosophy
that shops doing everyday collision work (a.k.a. “body shops”), do not make
good places to take your restoration work to. It is an entirely different mindset.
In
my shop, I hold filling a panel as essentially a three step process: 1) “Heavy” filler work which involves
conventional poly filler like All-Metal and Rage, 2) “Light” filler work which
centers around glazing putty with very thin applications, and finally 3)
“Finish” filler work which is exclusively a sprayable, high-build filler over
the entire panel that will be blocked to the perfect finish before
primer/sealer application and paint.
This is obviously only a fraction of the true work involved in getting a
panel flat and laser straight, but as the specifics of applying fillers goes,
that is the process I follow and will document here.
On
the heels of the last update where the metal work was completed and all remaining
surface repairs were made, it was finally time to begin the “heavy” filler work
on the quarter. I should point out that
when I use the term “heavy”, I am only referring to the density of the filler
used first and NOT the amount of filler applied. Remember, this ain’t no “body shop”.
There
is a lot of opinion swirling around about whether or not to apply filler to
bare metal or over an epoxy primer as a best practice. I am of the opinion that “heavy” fillers
should be applied to properly prepared bare metal surfaces for maximum
adhesion. My main reason for this is
that I prefer to use a fairly aggressive sanding grit to prepare the bare metal
surface that simply cannot be supported by any epoxy primer. I like to use a DA sander with 36 grit paper
to lightly scuff the bare metal surfaces in a non-directional pattern to give
the fillers plenty of “tooth” to grip and hold on to. Once the heavy filling work is complete, I
seal the entire panel with epoxy and apply subsequent filling work over the
primed surface after sanding with 80 grit.
This is plenty of tooth for the lighter glazing fillers and sprayable
poly fillers to bond to without concern for finish integrity. Following that, the sanding prep before the
final primer/sealer coats is straight out of the preparation recommendations of
the primer manufacturer and rarely gets more aggressive than 150 grit to ensure
sanding marks do not surface in the upper finishing coats.
As
described above, I prepared the bare metal surfaces with a light application of
36 grit paper on my DA sander, followed by a thorough washing of the surface
with acetone to remove any remaining traces of marking ink or machinist
dye. Then I followed up with a thorough
swabbing of the panel with commercial wax and grease remover and let everything
dry thoroughly.
The
first order of business is to apply a “base” filler over the areas where welds
and/or heat has been applied to the panel.
I prefer to use a metalized filler called All-Metal as a base filler
over these particular areas as it is extremely durable and strong and seals the
welded areas extremely well. The down
side is that this material is designed to replace lead filler and this makes it
much tougher to sand and shape, so I use it sparingly and NEVER as a final
finish coat.
In
similar fashion to the bare metal work described in my last post, I use a guide
coat to act as my road map to sanding each and every coat of filler that is
applied. I prefer a graphite powdered
guide coat by 3M that goes on very smooth and does an excellent job coating the
entire surface of the filler evenly. It
doesn’t load the sand paper at all and is as easy to apply as wiping steam off
a bathroom mirror. It is pretty much the
state of the art in guide coats and is far more economical that the old rattle
can guide coat sprays of the past.
Once
the All Metal filler completely covers the welded or heated areas and has been
dressed down with 80 grit paper by hand below final surface, I move to my
favorite “heavy” body filler called Rage Gold by Evercoat. I have been using Rage for over 20 years and
the stuff continues to perform extremely well.
Every improvement to the formula has been excellent and it has outstanding
workability and sanding characteristics.
The one “trick” I employ is to shake Rage thoroughly in my pneumatic
shaker rather than stirring it before use.
This removes 99% of the air bubbles in the product and gives it a
buttery smooth texture that is very easy to mix and apply with virtually no
pinholes.
At
this point, you must condition yourself to the idea that filer work is an
iterative process. In other words, any
repair area will receive several thin coats of filler, followed by DA and hand
sanding between each coat until the surface is exactly as you want it. Applying a heavy coat of filler will only
create more work for you in the long run and exhaust and frustrate you during
the hand blocking process. This is an
exercise in patience and discipline and it is worth taking your time to apply
and finish correctly. Since most of the
filler will end up on the ground, wasting it by applying too much of it is just
costing you money that could be better spent on other things.
Since
I was fortunate in being able to bring the base metal very close to final
shape, none of the areas I needed to fill would require very much material to
get where it needed to be. However, even
the thinnest filled sections required at least 2 thin applications of filler to
get the surface I was looking for. Most
areas will regularly see 4 to 6 applications depending on the amount of filler
required and the complexity of the repair surface. That is simply what it takes to get the
surfaces to shape up the way they are intended without tremendous waste.
As
the filler surfaces approach their final desired finish, I try to purposely
slow down in my block sanding to ensure I don’t over do it. Also, I prefer to use the longest sanding
blocks possible for the area that I am working to help distribute the sanding
load over the largest surface area to reduce the likelihood of plowing an edge
or gouging an otherwise finished surface.
I
try to discipline myself to always wear nitrile examination gloves while I sand
and check the surface. Most obviously, a
glove keep the oils from my hands off the surfaces as much as possible and the
thin membrane of nitrile rubber actually increases the sensitivity in the fingers,
allowing very tiny irregularities to be felt in the surface that cannot be seen
with the eye.
After
a several days dedicated to the filling and blocking process, I had the left
rear quarter panel in pretty good shape and ready to begin the prep work to get
it in a thin coat of epoxy primer/sealer before moving on to the right side
quarter and tail light panel. This coat
of epoxy will be the first real opportunity to see how the surfaces are shaping
up and will give a hint on where the lighter filler work will be required. Yep……we’ll be back here again before it’s
over!
 |
| I prefer to cover any areas that have been welded or have heat applied as part of metal work with All-Metal filler to seal the area and provide a strong base. I use this metalized filler sparingly as it is much more difficult to sand and shape than conventional filler. This is a very thin skim coat, the bulk of which will be sanded away. |
 |
| After sanding with a DA and blocking by hand, the All-Metal filler is in place and this area is ready for a follow-up skim of Rage Gold polyester filler to bring up the surface to the perfect finish. |
 |
| One of the more heavily welded areas was this section of the quarter at the rocker joint. I welded this seam up and smoothed it for aesthetic reasons and this is the first coat of All-Metal. |
 |
| With most of the first coat of All-Metal sanded away, I use a pencil to mark the areas that will require additional filler on the subsequent coats. Once the entire weld seam is sealed with All-Metal, I move on to Rage Gold to finish the "heavy" filler work in this area. |
 |
| My favorite way to prepare Rage Gold filler for use is to shake it in my pneumatic paint shaker for 3-4 minutes. This does an excellent job of removing air bubbles and smoothing the mixture to a perfect consistency for ease of application. I just scoop out the desired amount, add hardener and mix it well for about a minute and go to work. Life is not complete without a paint shaker! |
 |
| While this looks like a lot of filler at first glance, it is actually a thin coat over a large area extending well beyond the actual repair areas. This allows efficient filling of the repair while allowing blocking with the longest blocks that can be used in each area. This makes for a much more consistent finish in shorter time than applying heavy layers and having to carve off massive amounts of cured filler before you ever get near the desired shape. |
 |
| Once the Rage Gold filler "gels up", I use a Surform (a.k.a. cheese grater) file tool to shave the filler into it's rough shape. Once this is done, the filler is left to cure fully before block sanding begins. |
 |
| Here is the same area after the second coat of Rage has been blocked. Plenty left to do, but the idea is to sneak up on the surface you want. |
 |
| A third and fourth application were required before I felt the surface was where it needed to be. |
 |
| A fifth and sixth filling iteration was required in the area of the lower front fender opening to get the contour just right. After this was blocked by hand, it was time to move on to the next repair area further back on the quarter. |
 |
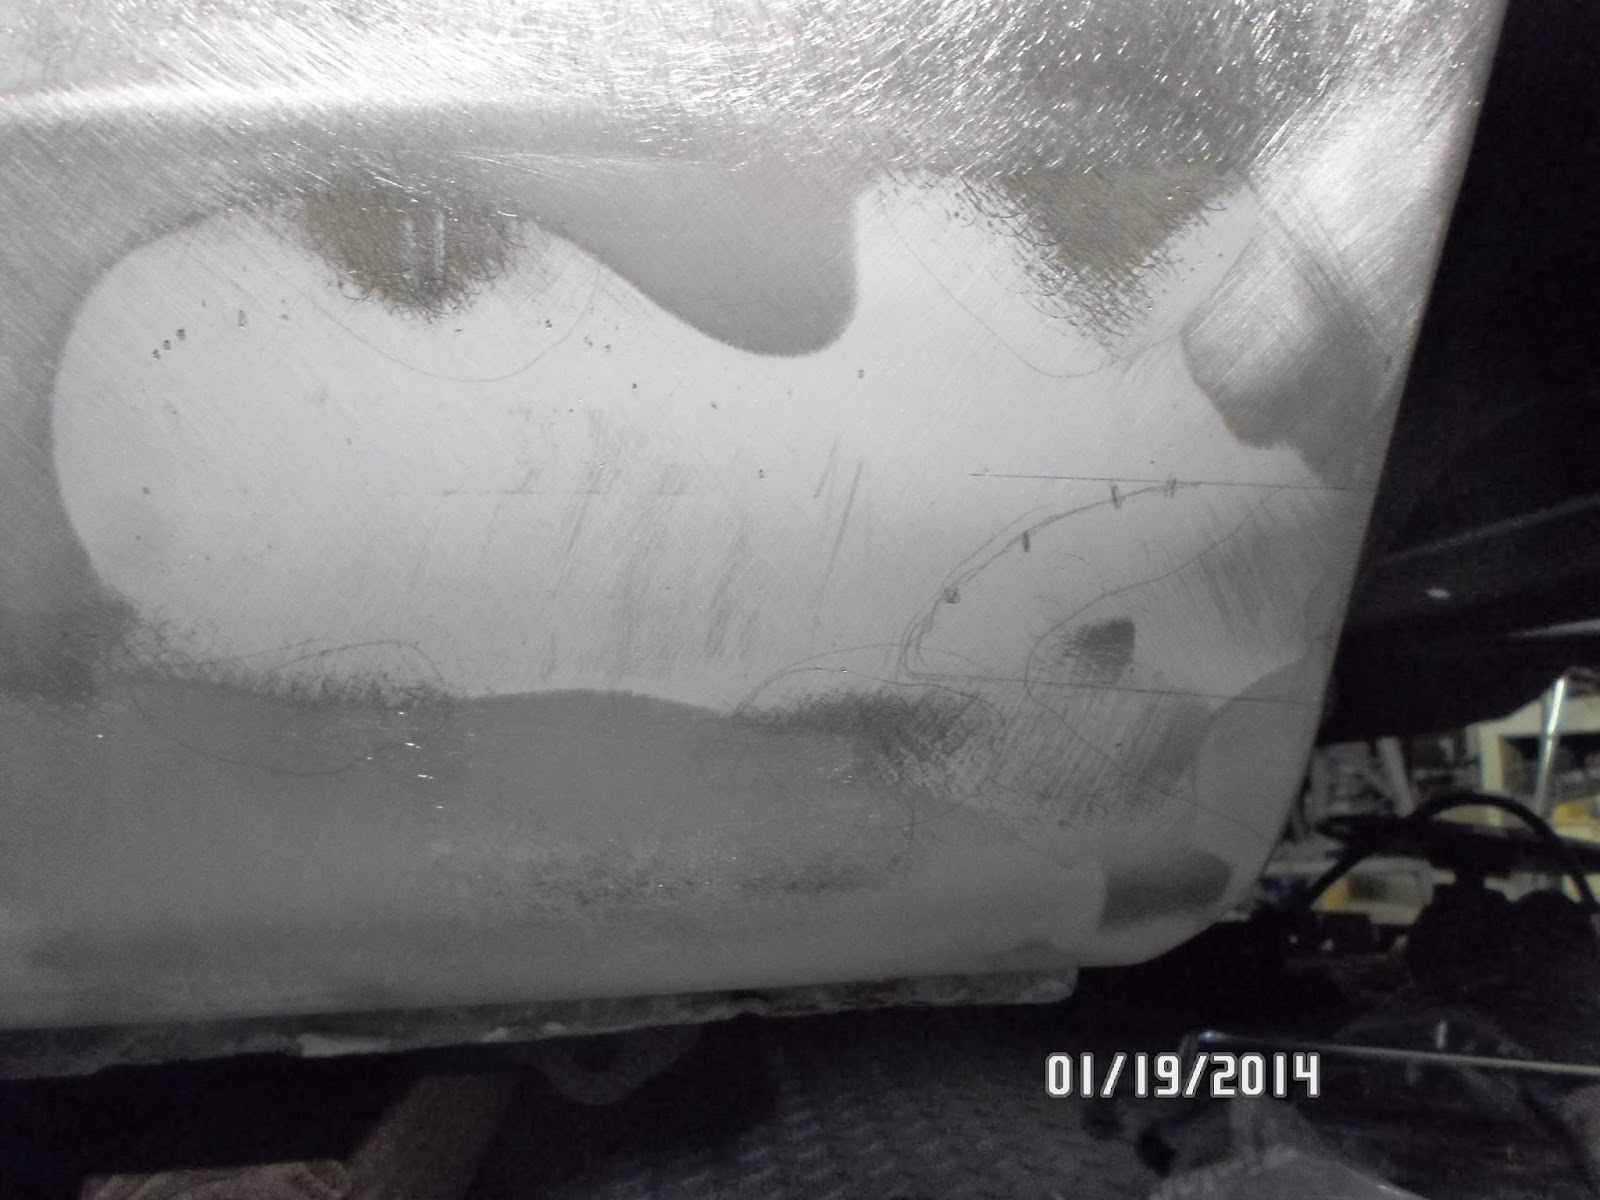
| Very, very thin coats of filler were used in the center of the panel to get these very slight irregularities corrected. It looks a bit daunting, but all but one of these areas was invisible to the eye and were only revealed using 3M dry guide coat as an indicator of the surface along with a hand gloved with a nitrile examination glove. This guide coat coupled with the amplified tactile sensitivity offered by the thin nitrile glove allowed me to feel irregularities that could not be easily seen (if at all). |
 |
| Here is an area that is often overlooked in custom and restored cars: The fender lip reveal. I take extra care to make this lip reveal even all the way around the wheel opening and to smooth it up so it blends smoothly into the fender. It's a small detail that makes a difference people will notice subconsciously. |
 |
| With All-Metal filler already applied to the roof seam, this area will be smoothed up with Rage Gold until this critical contour on the Boss is seamless and perfect before paint. |
 |
| My car was originally fitted with rear window louvers. However, they were stolen off the car in about 1977 and the damaged latch holes were all that was left. I don't care for these louvers and long ago decided to leave them out of this build. With that, I welded up the holes and now it has come time to apply a skim of filler over the repair area which can be seen about 1/3 of the way across the bottom of the window opening (in the middle of the sanded bare metal area). At the same time, I will be filling the outer panel seam that was previously welded and smoothed, again for aesthetic reasons. |
 |
| There you have it. Though it doesn't look like much, the left rear quarter is now ready for primer/sealer and at least two more passes of filling and smoothing work yet to come. Like I said before: This ain't no body shop job....... |
 |
| At this angle, you can better see the detail in the roof seam that is now much smoother than it was before the "heavy" filling process was complete. You can also get an idea of just how little filling was required overall across the entire quarter. No bad after 44 years of abuse and neglect. |

Thanks for that very concise, detailed, procedure Sven. Hopefully, someday, I'll develop a touch that sensitive enough to feel the very minor fluctuations in the surface. Alas, that was not the case for my own project as I couldn't feel the highs and lows in a fine enough resolution and so I passed the task of paint and filler on to a more experienced hand.
ReplyDeleteVery nice work! Again, you excel at perfection in everything you do.
Glad you found the information of interest Alex and thanks as always for your kind remarks. This type of work is more tedious than any other process involved in car restoration in my opinion. Nothing fast or entertaining about it usually. Good thing it's somewhat relaxing or I'd be bored out of my mind! Ha!
DeleteA giant pile of work Sven! So you shake the entire can of All-Metal then scoop out a portion for mixing with hardener? Or do you mix the All-Metal and hardener and then shake that mixture? Will be nice to see that quarter in primer.
ReplyDeleterj
Thanks RJ! To clarify, I shake the Rage and not the All-Metal. All-Metal _can_ be shaken, but it is so much heavier that it requires a MONSTER shaker that I don't have. So I still stir All-Metal by hand and only buy it in the quart size to make that easier to manage. I buy Rage in gallons and shake the whole gallon can each time I use it. Then, I scoop out the amount I plan to use, add hardener and then mix that batch by hand before application.
DeleteGot it - that's one I've never heard. Always good to learn new things!
DeleteVery informative post on the proper way to use filler. Thanks Sven!
ReplyDeleteThanks Grant! Not sure if this is the "proper" way as there are about a million different opinions on the subject, but this way works very reliably, so why change?
DeleteVery nice Sven. It's amazing how filler brings out some of the imperfections the hand and eye didn't catch beforehand. I've done this process and, because of my anal nature, have done more hammer/dolly work and use the filler as my guide coat, so to speak. It's got to make you feel good that you're moving forward toward paint from metal repair. Night Mission will be on the streets of southeast Michigan terrorizing the "Bowtie" crowd before you know it!
ReplyDeleteDennis, it feels good indeed to be doing "finish" work after so long. It is a bit of an awkward adjustment from the repair work that started the project honestly, but I'll get used to it! Once the tail of the car is straight, the rest should go pretty easily as much less work should be required. We'll see!
Delete