
 |
| Weld dressed where tower crack used to be. This area will be sand blasted at the same time the flanges are. |
 |
| Right apron to rad support spot welds. |
 |
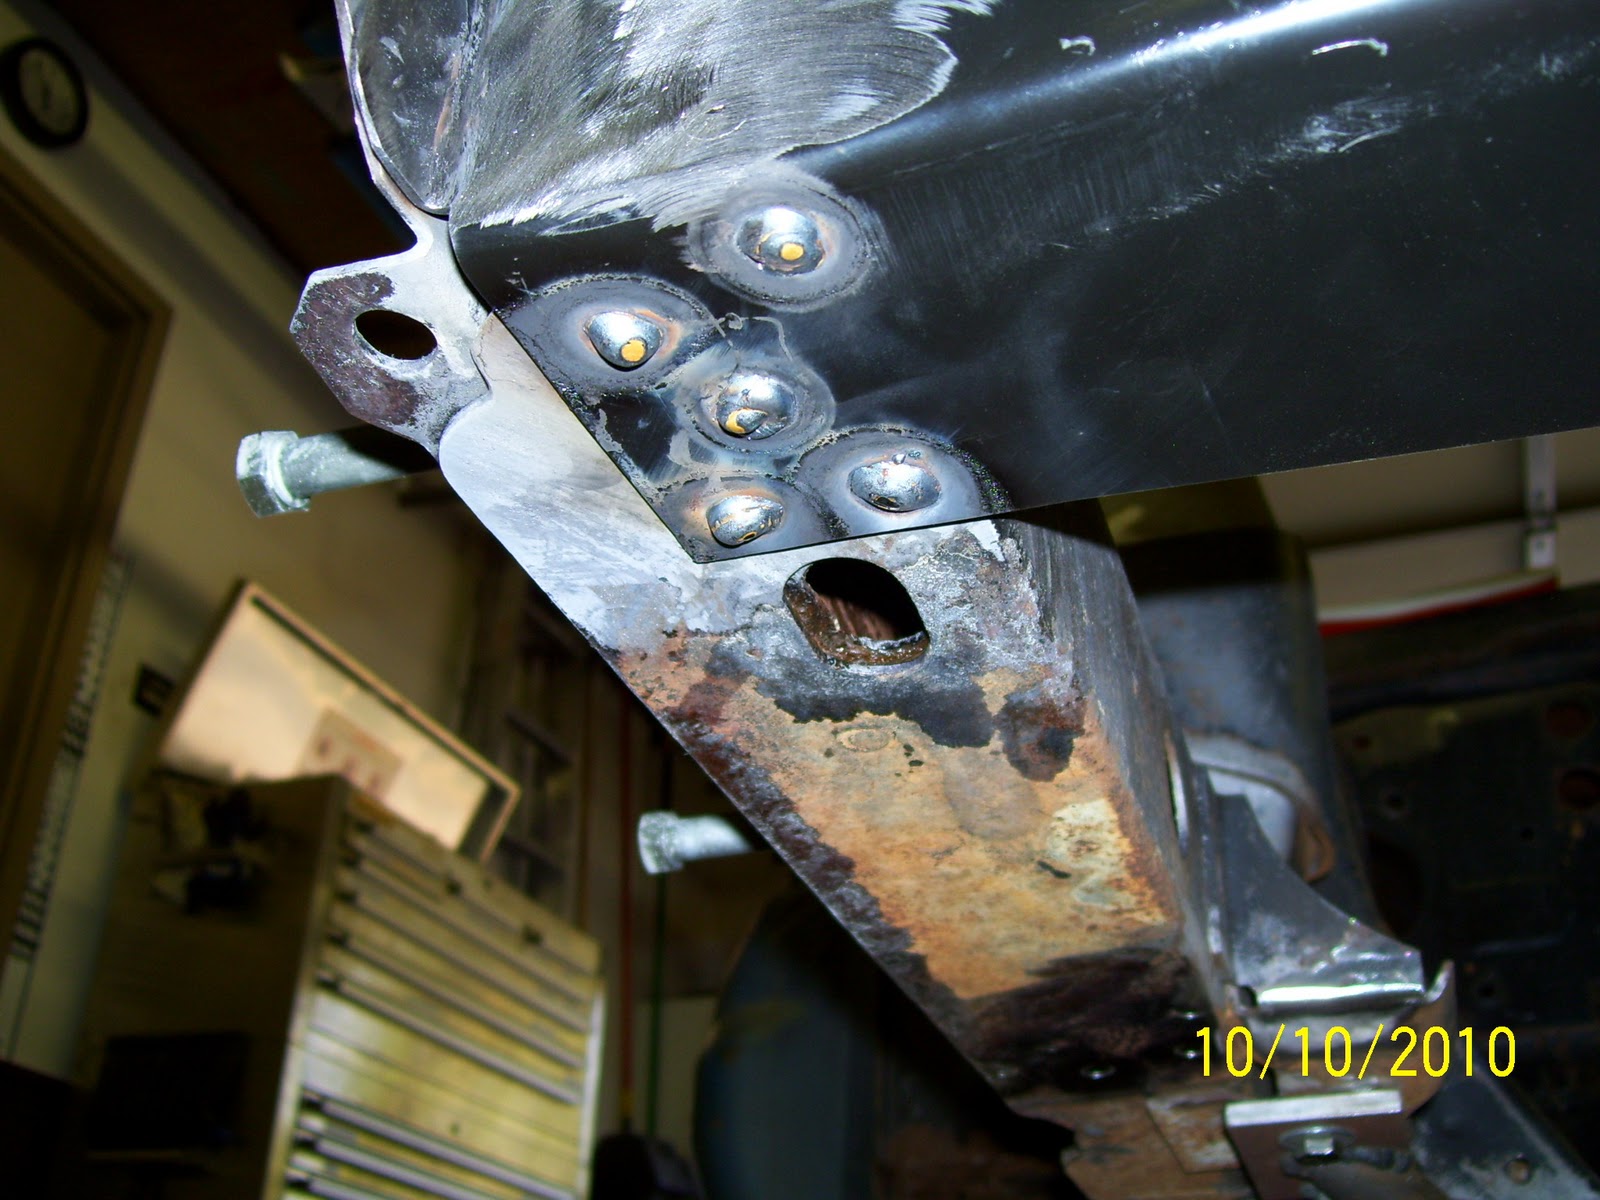
| Left apron to rad support spot welds. |
 |
| Left front of rad support. Notice how crooked the hood mount bracket is on this piece. Not one of Dynacorn's better jobs. |
 |
| Left front frame crossmember/rad support weld area before metal finishing. |
 |
| Right front frame crossmember/rad support weld area before metal finishing. |
 |
| Left front frame rail to crossmember/rad support lower joint. |
 |
| Right front frame rail to crossmember/rad support lower joint. |
 |
Right radius arm mount bracket removed from frame. |
 |
| Left radius arm mount bracket removed from frame. |
 |
| New rad support welded into the chassis. Nice corner fit to apron and frame rail. |
 |
| View of new rad support and right apron. |
 | |
|
 |
| Here's the first new panel disappointment. The Dynacorn panel on the right is incorrect on so many stamping details that I consider it worthless. As such, I started looking at the other panels available and ultimately settled on the part supplied by NPD. The stamping details are almost perfect and they have extra flange material all around to allow the part to be trimmed to an exact fit. Lot's more work, but worth the effort. |
 |
| Once all of the spot welds were cut, the panel came out very easily. |
 |
| Looking back at the firewall from the left front. |
 |
| Sand blasted the flanges after grinding all of the spot weld nubs down. |
 |
| Luckily, the flanges were also in very good shape. |
 |
| Fitting the NPD panel requires a lot of hand trimming all around the flanges to get the perfect fit. This is the front flange being trimmed to match the original panel fit against the firewall. |
 |
| This is the lower front corner of the panel marked for trimming. A good set of sheet metal snips works really well here. |
 |
| The fender flange must be folded over to duplicate the detail of the original panel. Once the bend is made, the drop flange is measured and trimmed to size. |
 |
| Once the panel has been trimmed, it is fit to the chassis and temporarily held in place with Cleco fasteners. Clecos are awesome for setting up replacement panels of all kinds prior to welding. Way better than sheet metal screws or rivets for sure. |
 |
| Looking down the top rail. Everything lined up nice and straight. |
 |
| The fit against the firewall was very good with the NPD panel. Not so much with the Dynacorn part. |
 |
| Another good fit for the NPD part. |
 |
| With several Clecos holding everything perfectly in place, I placed a few spot welds around the panel to begin the installation. |
 |
| Here's an up close view of a Cleco and spot weld. |
 |
| The new panel is now fully welded into place. |
 |
| Welds are now ground flush around the flange. |
 |
| Welded and ground flange at the firewall. |
 |
| Once the panel was welded in, the rear fender mount holes were added using the original panel as a pattern. |
Clecos are awesome aren't they? BTW, I wish I would have discovered the electric metal shear from Harbor Freight (http://www.harborfreight.com/18-gauge-sheet-metal-shear-92148.html) when I'd started my project. It works as advertised and I recommend it. Nice metal work and blogging!
ReplyDeleteLove 'em! Thanks for the heads-up on the metal shear. I have my heart set on a Kett electric shear but the price tag is a little steep! I'll definitely look at the HF unit!
ReplyDelete