One of the subtle body modifications I have planned it to fill the corner marker lights at the front and rear. So, with a few hours on my hands, I decided to dive into the project on the left rear quarter.
Because good fit is essential when filling in large voids in body sheet metal, the first thing I did was to make a very accurate template by taping thin cardboard (I like to use old cereal boxes) to the outside of the fender directly over the marker light hole and carefully tracing the opening.
Next, I cut the template just inside of the trace lines to provide a slight amount of kerf to the part when it came time to cut it out. From there, I applied machinist’s dye to a piece of clean 22 gauge sheet steel and, after it dried, I scribed the pattern onto the metal. Then it was off to the band saw to rough out the panel and then, with a combination of files and a belt sander, I carefully trimmed the profile to fit just inside the marker light hole in the body. After a few slight tweaks, the panel fit nicely and it was ready for installation.
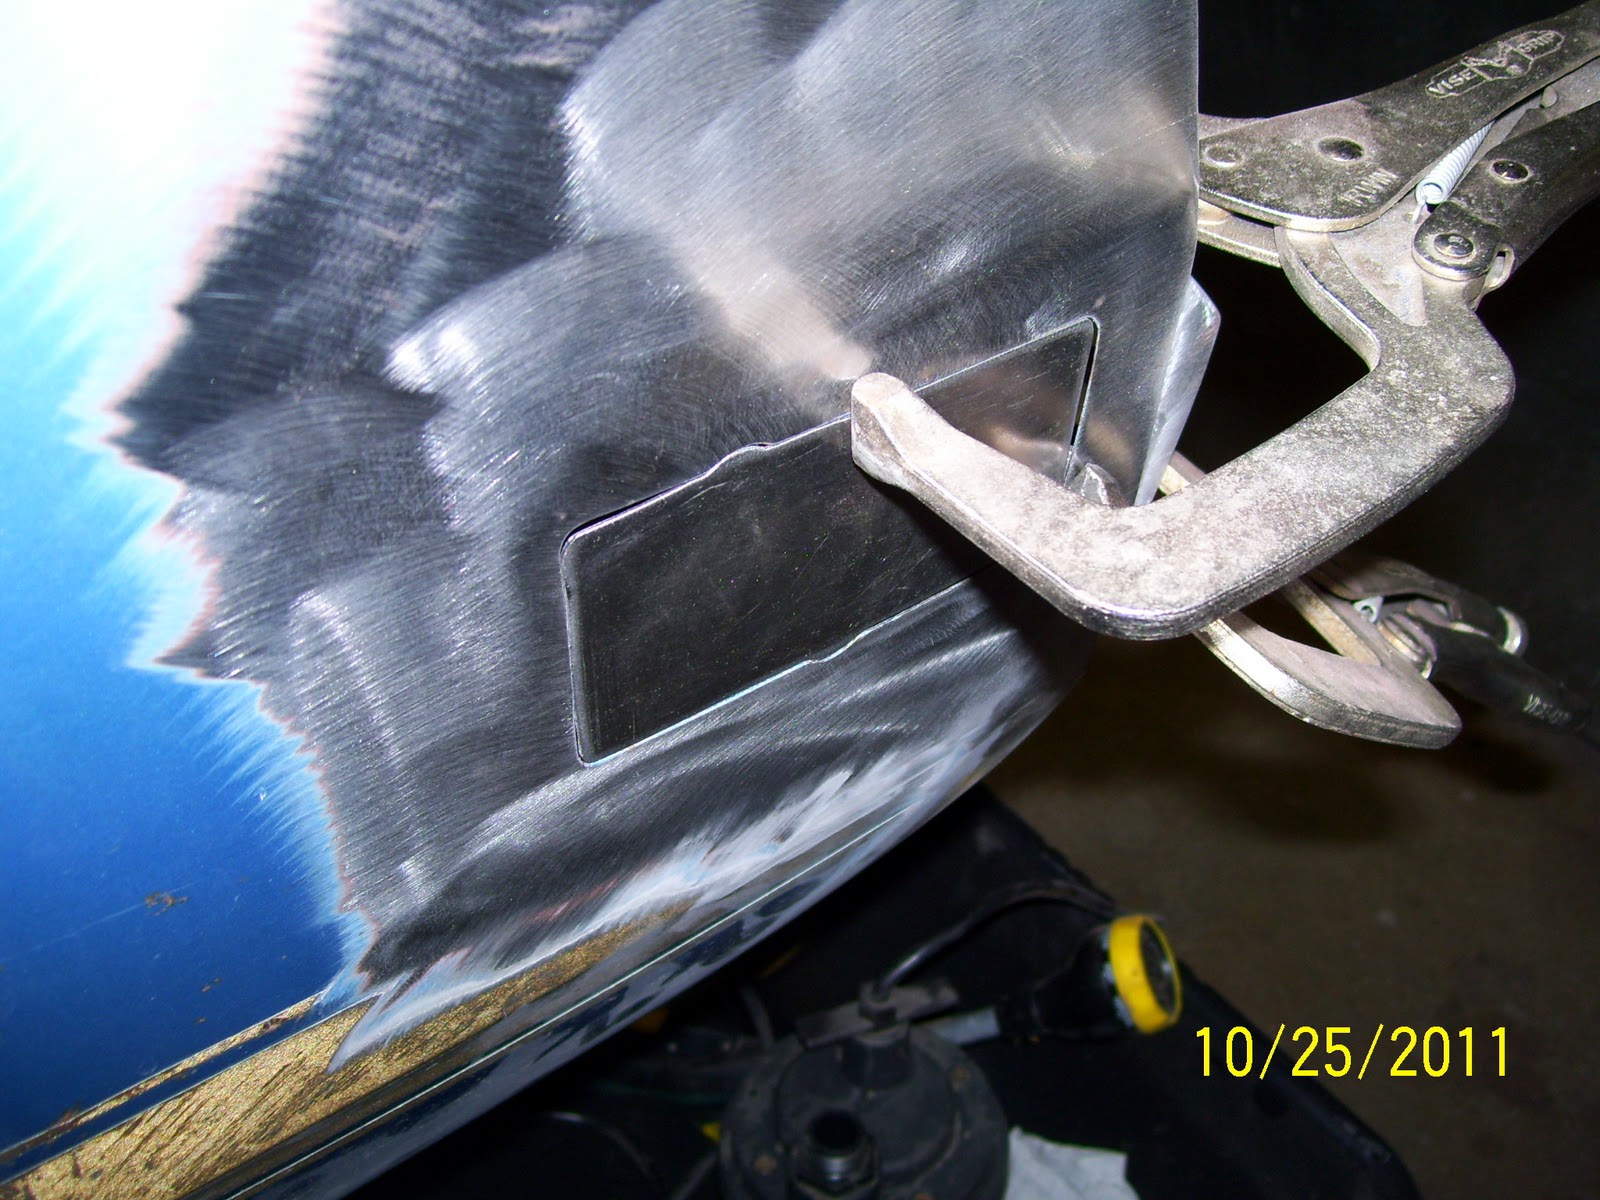
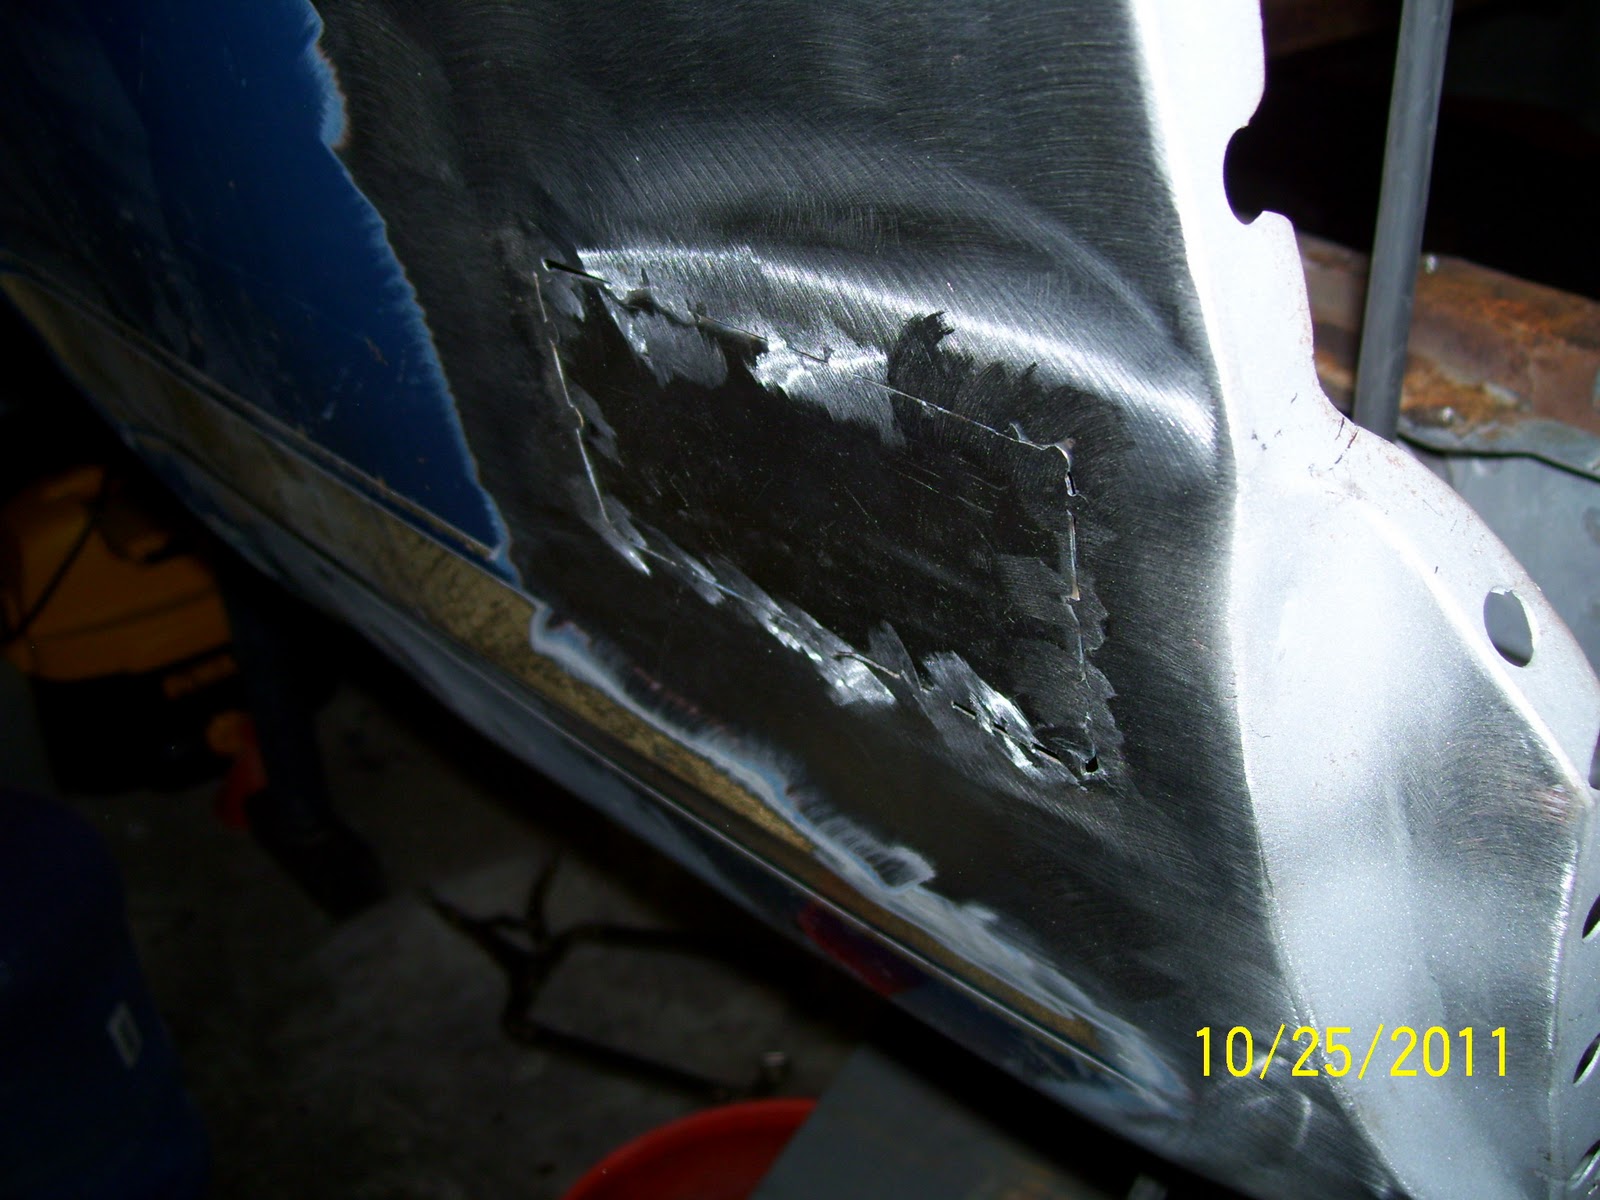
Using my adjustable welding clamps, I clamped the filler panel into place and tack welded the perimeter in several places, cooling each tack with a healthy blast of compressed air to minimize warping. Then I ground these tacks smooth to allow me to make sure the panel fit correctly before final welding. With everything fitting well, I simply walked around the panel randomly and began “connecting the dots” with several tacks, cooling each one as I went. With the welding complete, I smoothed the welds with my angle grinder and finished the area with a course nylon surface conditioning disk. A thin skim of filler over this area and there should be no evidence the modification was ever made. One side done, one to go!
 |
| Pattern material taped over the marker light hole for tracing. |
 |
| With the pattern blank taped tightly to the body, I can easily trace the opening from inside the car without worrying that the pattern will shift. |
 |
| With the trace complete, it's simply a matter of carefully trimming the template just to the inside of the lines. |
 |
| The template is then traced on to a piece of 22 gauge sheet steel and then cut out and finished so the panel is slightly smaller than the opening. |
 |
| Using my trusty welding clamps, I clamped the panel in place and made sure the alignment was just right. |
 |
| I tacked the panel at several locations, cooling each one with compressed air. As I worked my way around the panel, I moved the welding clamp along to make sure the fit was consistent all the way around the panel. |
 |
| I ground the first spot weld flush to make sure the fit was what I wanted. With everything looking right, I welded the panel in fully and ground the welds smooth. |
 |
| After a trio around the area with a surface conditioning disk, the panel is barely visible. After a skim of filler, it should be completely undetectable. |
 |
| A look from the inside after a little clean-up. |


Awesome work! I did the same thing on my 69 Mach 1 many years ago. Not as detailed as you but I wanted a clean look to the body and thought to remove them. Great job, detailed work and pics!
ReplyDeleteHey James! Been wondering where you've been! Thanks for the compliments! I actually got inspired to do this by the lack of front markers on the fenders of the 69's. Figured if I did the same on front and rear markers on my '70, I'd get the look I was after.
ReplyDelete